Halloween Portrait
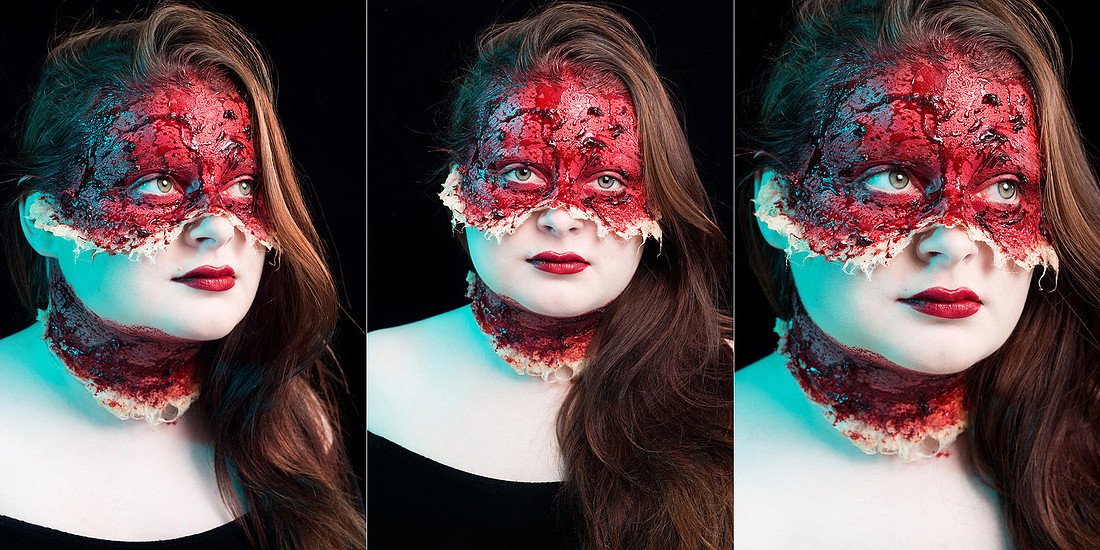
I just so happen to know a make up artist who is into Halloween as much as I am, and so naturally we decided that it was only sensible to get together for a little collab, combining our skills and creating something horrific for our favourite time of year.
I love it.
You can check out Tanya's work over on her instagram at @xomakeupbytanya
Bridgnorth Landscapes
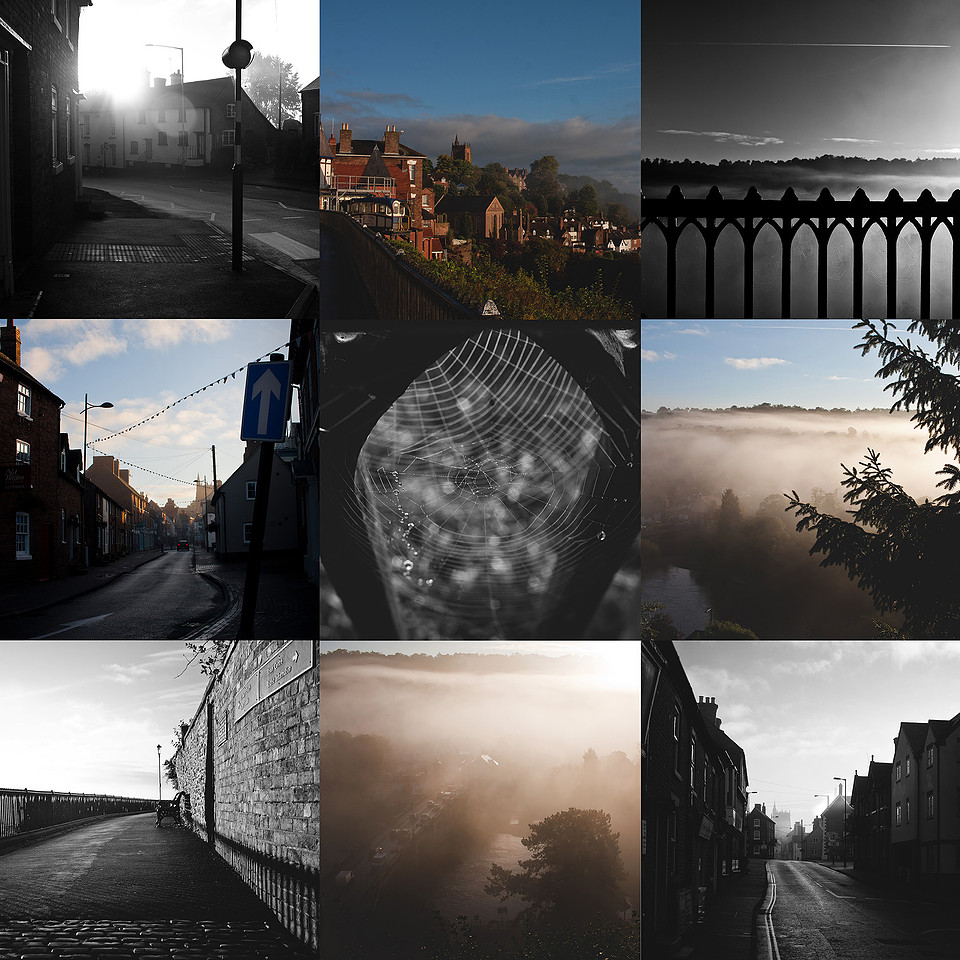
When it's foggy, there is no better place to take pictures than the Castle Walk. At the right time of day and the right time of year, when the mist rises from the fields and the morning sunlight catches it just right, it feels like walking above the clouds.
Sleeklens Workflow Review
Recently I was contacted by Sleeklens, a company who create post-production workflows for Lightroom and Photoshop and who very generously gave me the opportunity to try out their Landscape: Adventure workflow in exchange for a review.
For my own work, I typically create actions that only marginally alter the sharpness, white balance, contrast, etc of my images, as a quick way of achieving a consistent effect over a set and while I've often been tempted, I’ve never purchased an action, ever, because I'm a control freak and I have a ridiculous need to do things myself, from scratch. But as I’m not one to pass up an opportunity to mix things up a bit and try something new, and this seemed like a brilliant chance to find out what I'd been missing.
The workflow was incredibly easy to install, and the little user guide that came with it was really helpful because the workflow has a LOT of actions in it, so having something to reference which gave me something of an idea of what results each combination might have on my image saved me a lot of time going back and forth trying everything out.
The first image I edited was this sunrise in the town. Straight out of camera, the contrast was pretty low and while I like the perspective, the image definitely needed a kick. For the test, I applied no alterations to the images besides those available in the workflow and while at first -as with everything- it was a little tricky to get my head around how best to apply the layers, but once I'd familiarised myself with a couple of the actions I liked best, it was a breeze.
All of the individual actions can be altered by lowering and raising the opacity, and some of them can be 'painted' on in a layer mask with a brush tool which is really useful, especially when using effects that make the sky more dramatic, or if you want to remove the effect from one area of the image, but not from the whole thing, and so on.
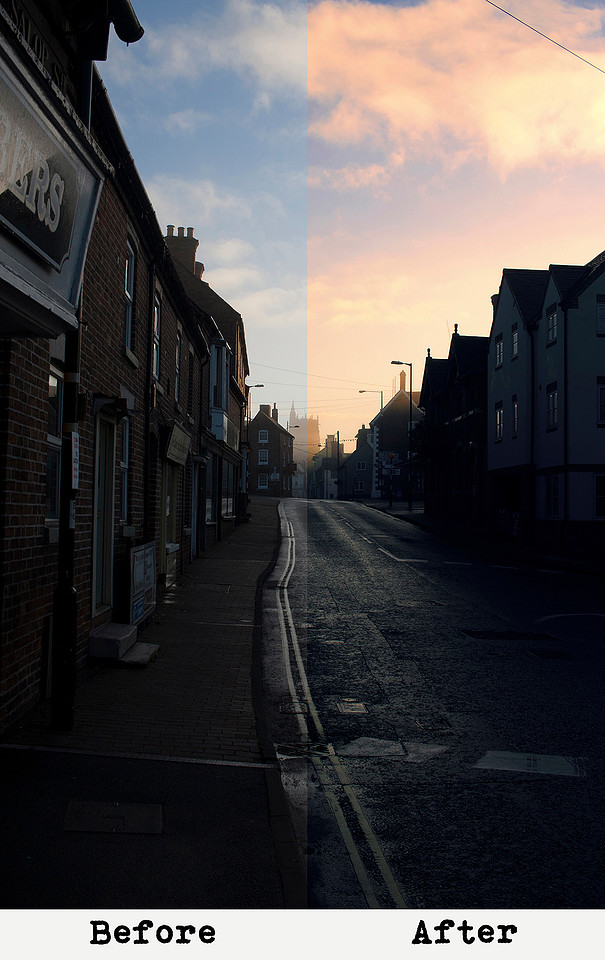
Actions Used:
- Base: Expanded dynamic Range
- Tone: Cinematic
- Tone: Colour Pop
- Exposure: Reduce Highlights
- Allinone: Dawn Rising
The second image I pulled from my archive as an example of a shot which had a pretty even exposure straight out of camera. I found that during my first play around with the workflow that the actions are very intense, designed to boost landscape images that may have been shot in lower light, a few stops underexposed, or in dull weather and so I wanted to see if I could find a combination that would provide more of a polishing effect, rather than a transformative one.
As it turns out, you can! But I really think this particular workflow is more suitable for sweeping vistas with wide horizon's and dramatic skies that need a significant boost in the shadows or highlights and which have less in the way of detail. The clarity boost is nice and subtle though, as was the warming highlights to help correct to cool tones in the shade.
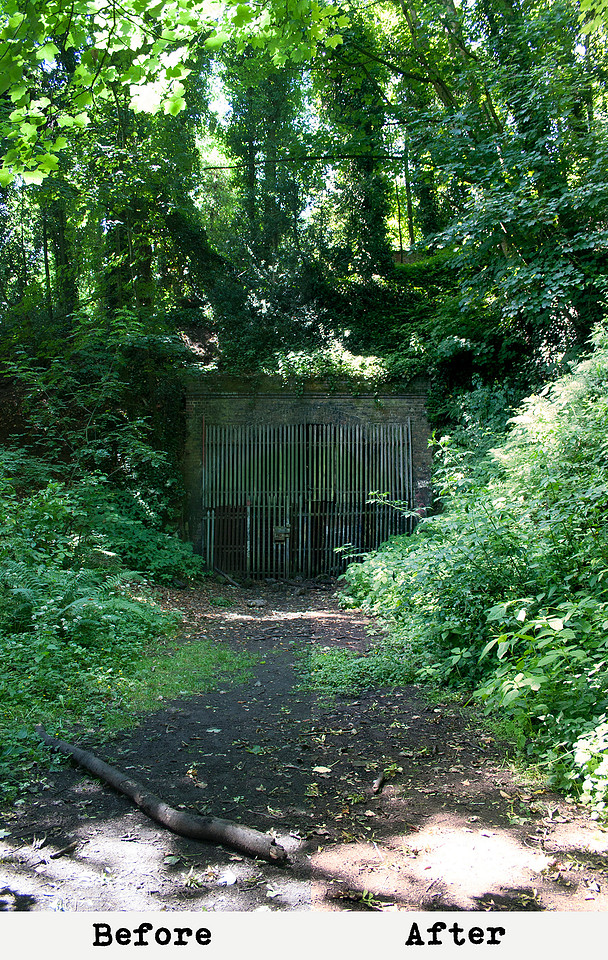
Actions Used:
- Base: Clarity
- Tone: Dark & Stormy
- Enhance: Warm Highlights
And finally, for my 3rd image I shot a more classic landscape image to play around with. I loved the desaturation, but I did find that one of the effects created a bit of colour banding in the shadows at the bottom of the shot. And it's these sorts of issues that make me wary of using actions usually, because if once applied the effect produces an issue like this, you then have to reverse edit to find the source of the problem and fix it, which isn't really an issue if you understand photoshop well but it does mean you end up using more time, rendering the process a bit redundant.
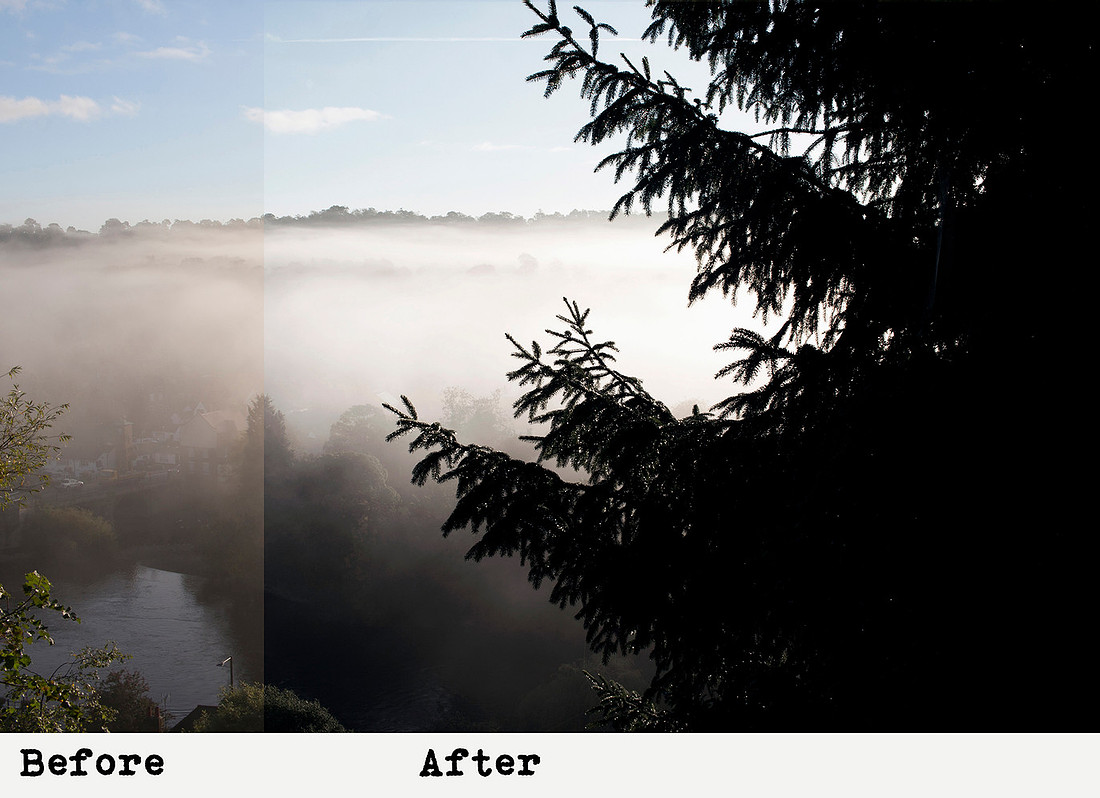
Actions Used:
- Base: Desaturated
- Tone: Dark & Stormy
- Exposure: Contrast
Thoughts
Many of the actions are a little too dramatic for my taste, though I definitely think that with such an extensive a catalogue available, that there are plenty of options that would be more in tune with the kind of aesthetic that I go for. The workflows are incredibly user friendly, right down to the action title choices which for the most part are pretty self explainatory. You can mix and match how they are combined to get a huge variety of effects without needing to know all of the complicated aspects of photoshop or spending hours to achieve them and I think it would make a perfect purchase for anyone who loves photography but doesn’t have much experience with all of the ins and outs of photoshop, or just for someone who enjoys experimenting with different effects to shake up the way they edit their photos. I certainly got a kick out of applying looks to my images that it usually wouldn't occur to me to try, and having access to the demos was a handy way of trying out some new tricks to add a shot of creativity to my photography which can sometimes be difficult to do when you comfortably find your signature style go-to editing choices.
You can check out the Sleeklens website here, they have plenty of user guides and demos to browse along with their many, many workflows. And if you like the look of the Landscape: Adventure workflow, you can buy yourself a download, here.
Christmas 2017

Autumn is officially here, which means that Christmas is just around the corner for all of you business owners, shops and online sellers.
So for those of you planning to book some product photography ready to dazzle your customers with all of your new and seasonal goodies, now is the time to get in touch in order to have your images ready in time for the launch of your winter marketing season and we can chat about your plans.
Halloween Selfie
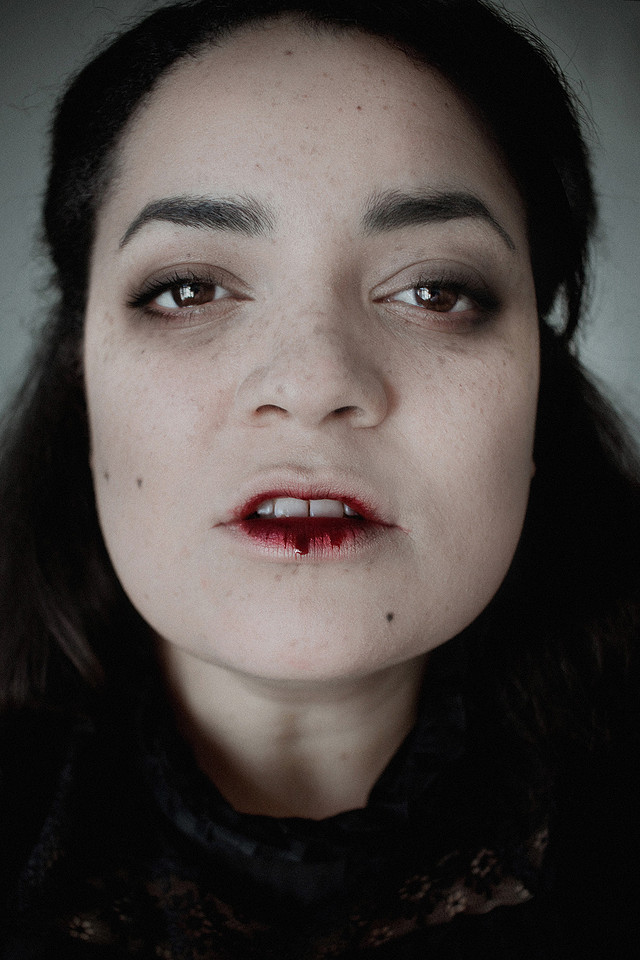

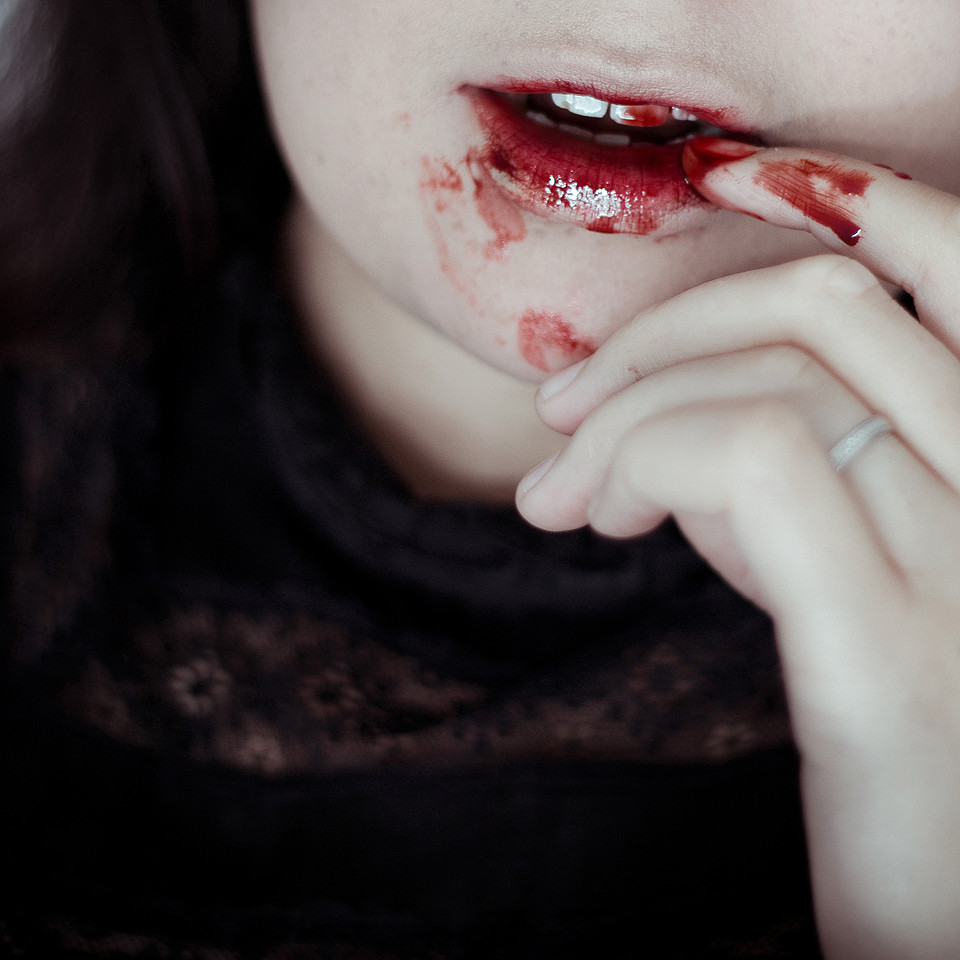
Favourite thing about October?
Having an excuse to look as ghoulish on the outside as I am on the inside and shooting my Halloween Self Portrait!
(Also, pretend blood is delicious!)
That's Nice Autumn/Winter 2017
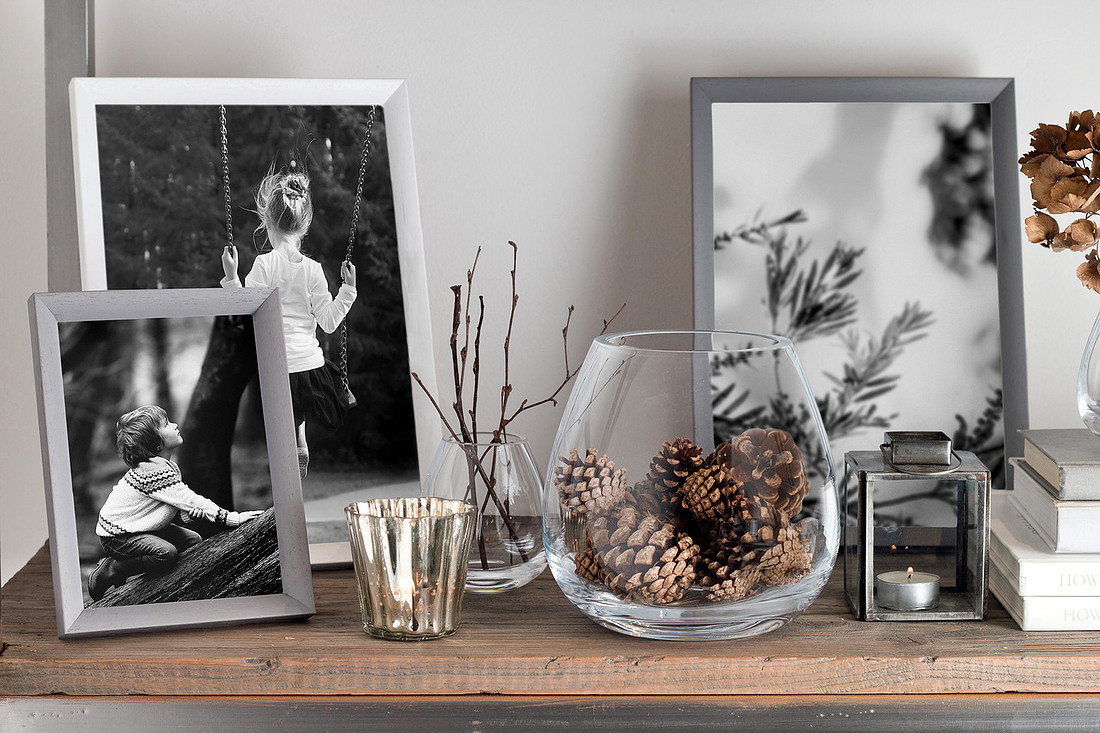
Earlier in the year I began offering multi-session packages to some of the Bridgnorth Based businesses that I work with, allowing clients to book a number of shorter session (1-2 hours each) over a specific period of time.
I find that for some businesses, booking shorter, more frequent sessions which enables them to build a catalogue of their products over a longer period of time, provides a flexibility and adaptability that wouldn't be possible if we shot everything all at once, in one huge photoshoot. By staggering the sessions, styling, content and the over all mood of the images can adapt and stay up to date with new trends and changing seasons without the need to spend a fortune booking huge sessions every few months.
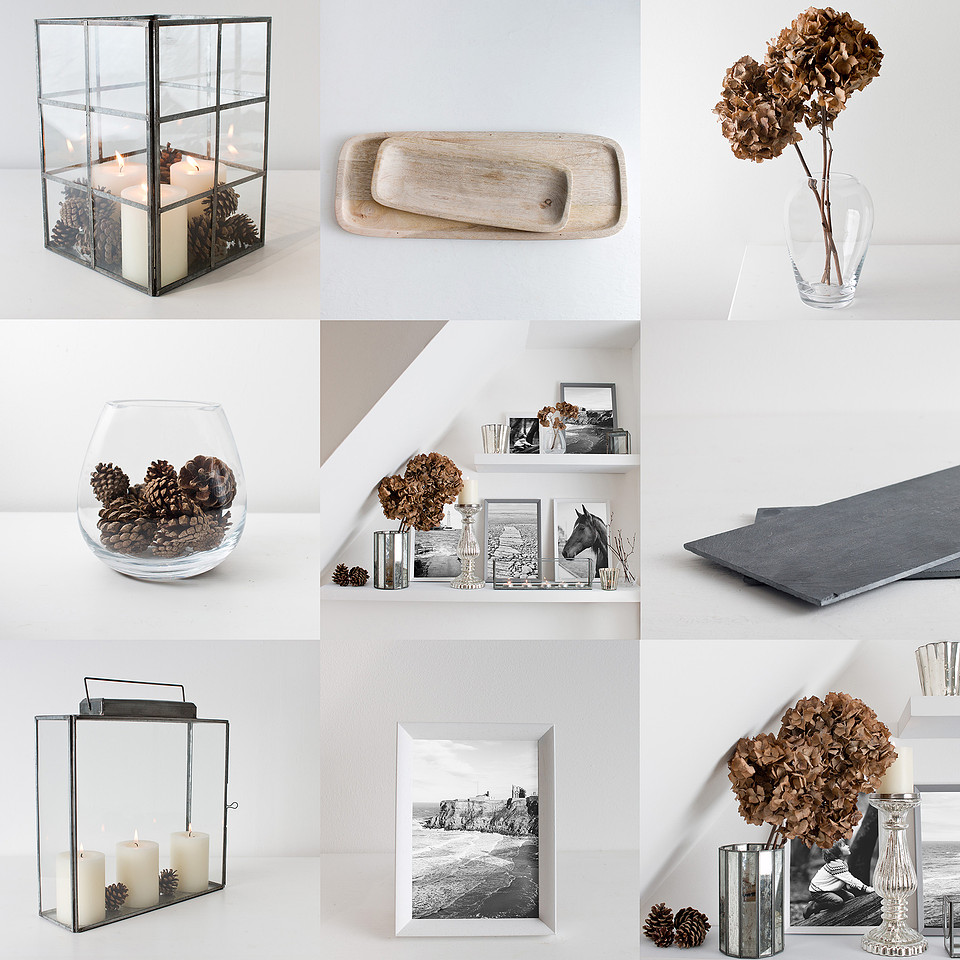
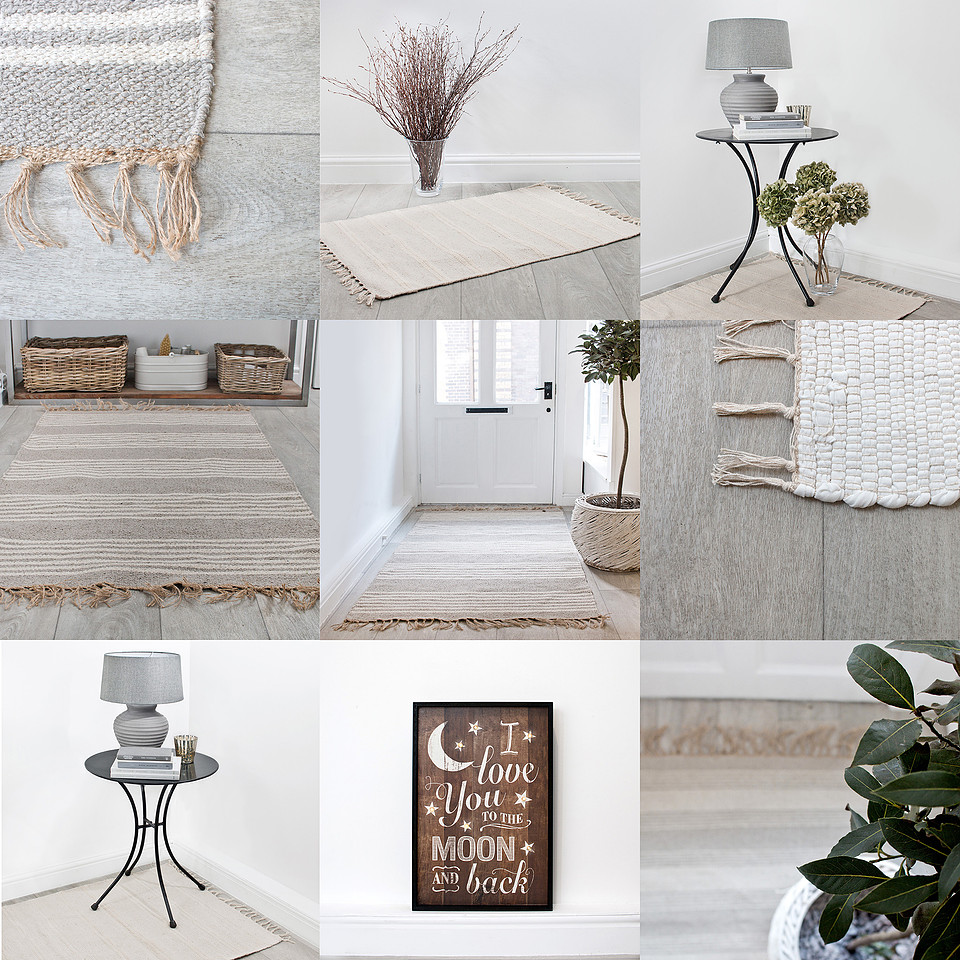
For our latest session we shot picture frames, using some gorgeous autumnal styling mixed in with That's Nice's signature minimalist colour palette and I used a little bit of photoshop trickery to insert digital images into the frames rather than getting them printed, allowing the final images to have more variety.
While I find it's best to get as much work fone in-camera as possible, sometimes a little post-production can go a long way, particularly when working in a shop environment where the lighting and space aren't primarily designed for photography.
The End of August
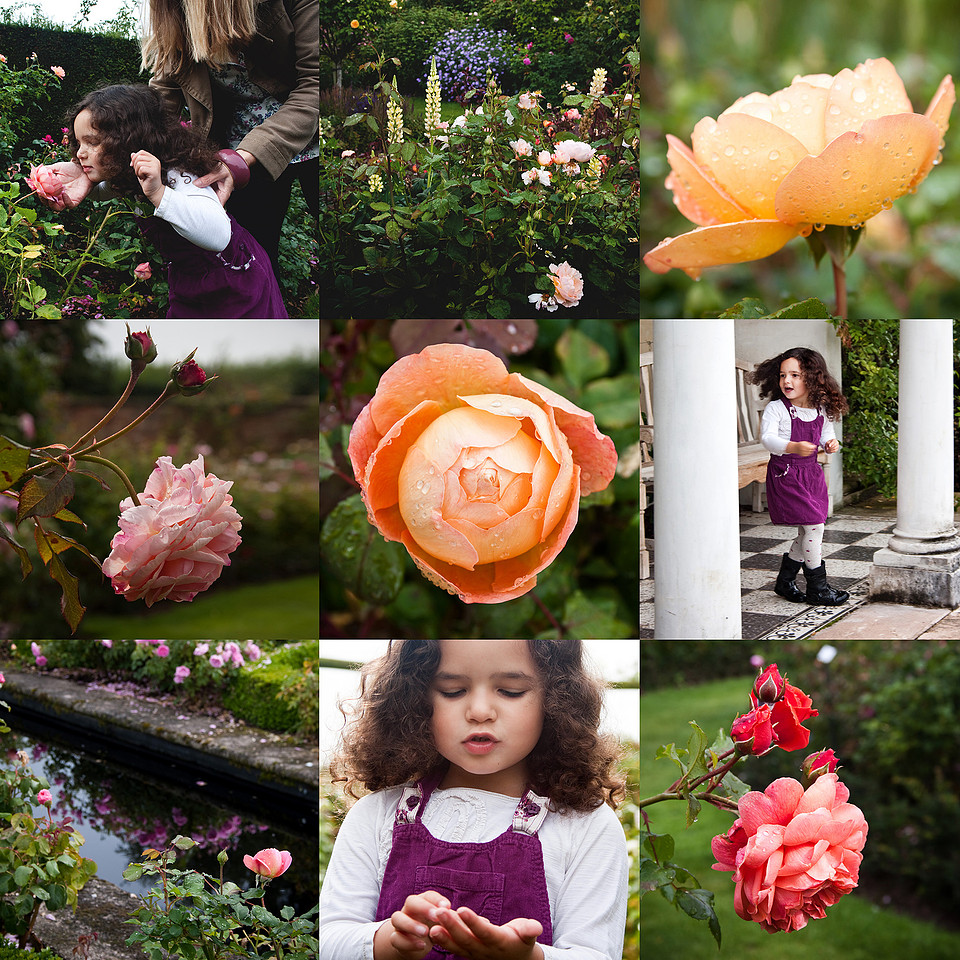
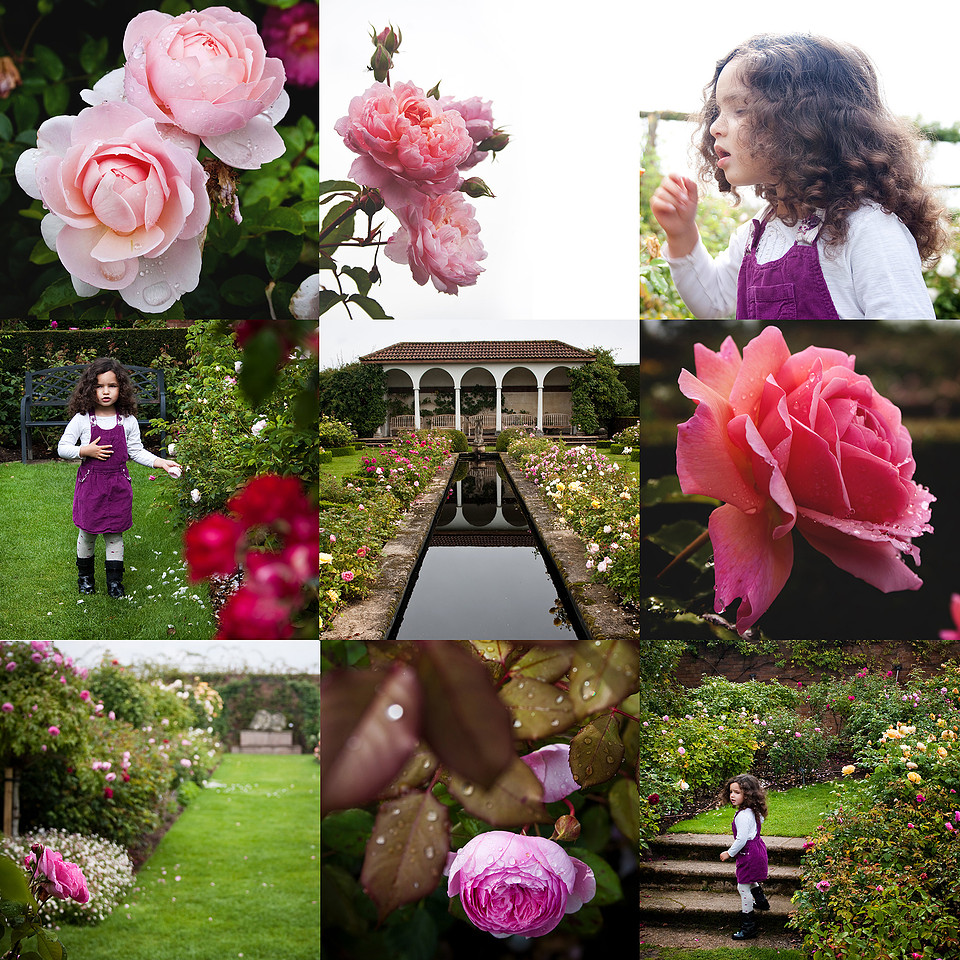 At the end of August Rory and I made a visit to David Austin Roses with my mother-in-law. I'd never been before, and she hadn't in a long time and wanted to stop by before the end of the season to begin picking out plants for a rose garden she's planning and if it isn't one of the most beautiful places I've ever visited I'd be surprised.
It was a drizzly day, and many of the bushes had already begun to shed their roses, filling the air with the sweet and pungent smell of their perfume. The remaining flowers bloomed heavily and in their deepest shades in a final burst of colour against the dreary overcast sky and the occasional speckled sunlight turned the rain spattered petals to glitter.
That's Nice Session 9
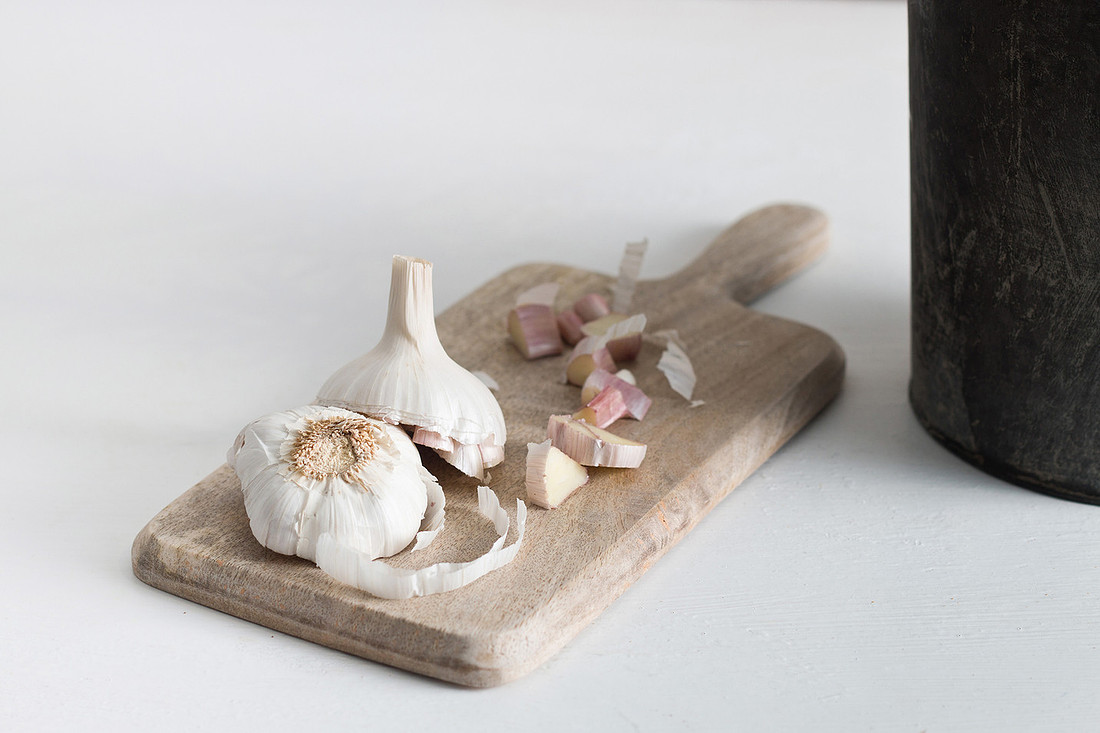
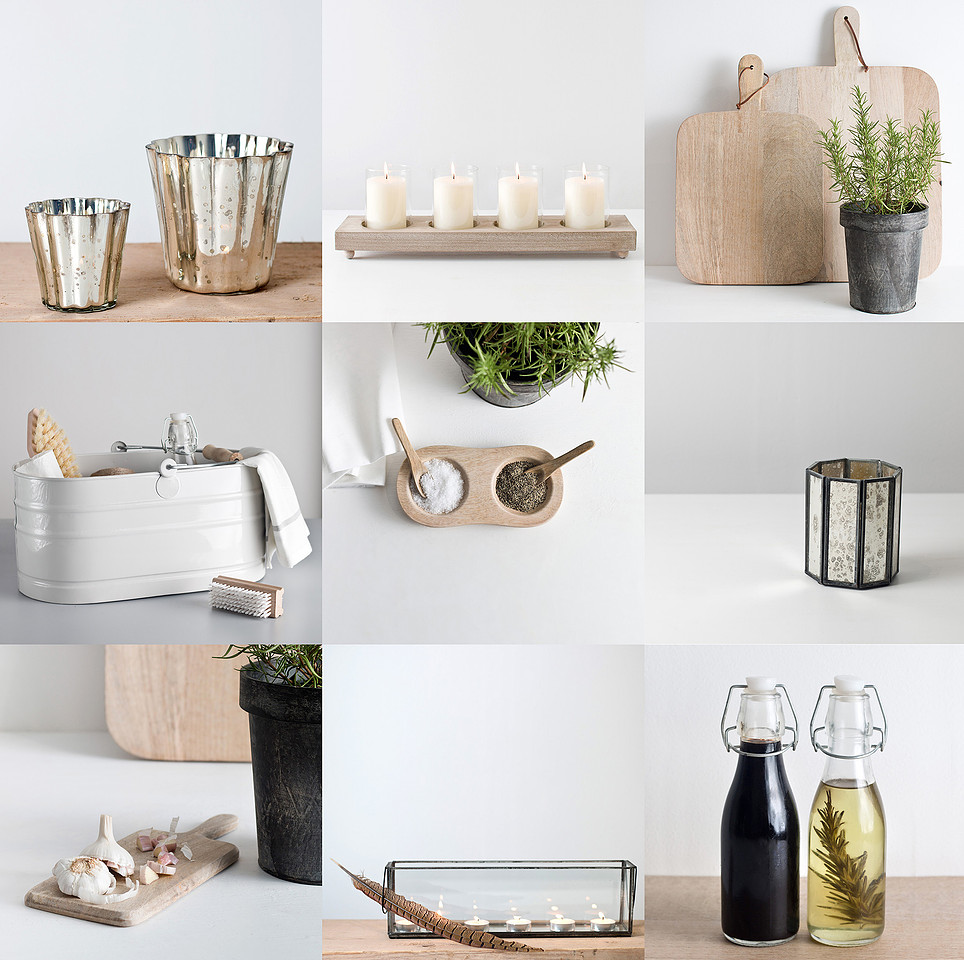
Last month I was back at That's Nice Interiors for our first session since the relaunch, shooting some fall loveliness for the autumn/winter season.
I'm so in love this mix of natural textures and the neutral colour pallet. Pop over to the site to see more from our session and keep an eye out because there will be plenty more exciting things coming up!
Playing With Light
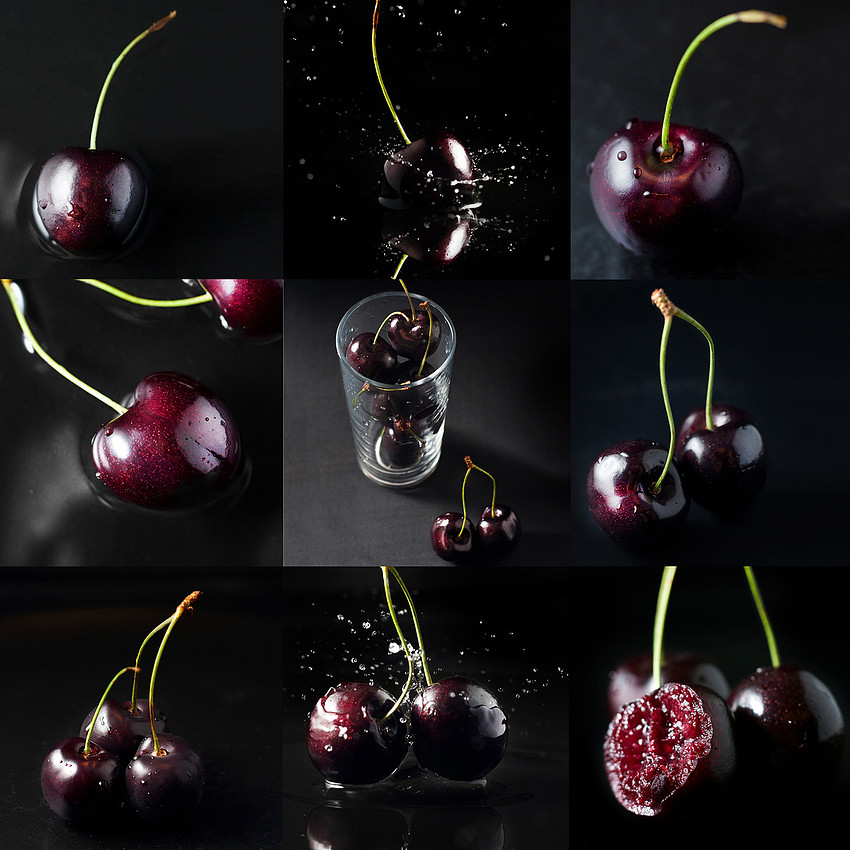
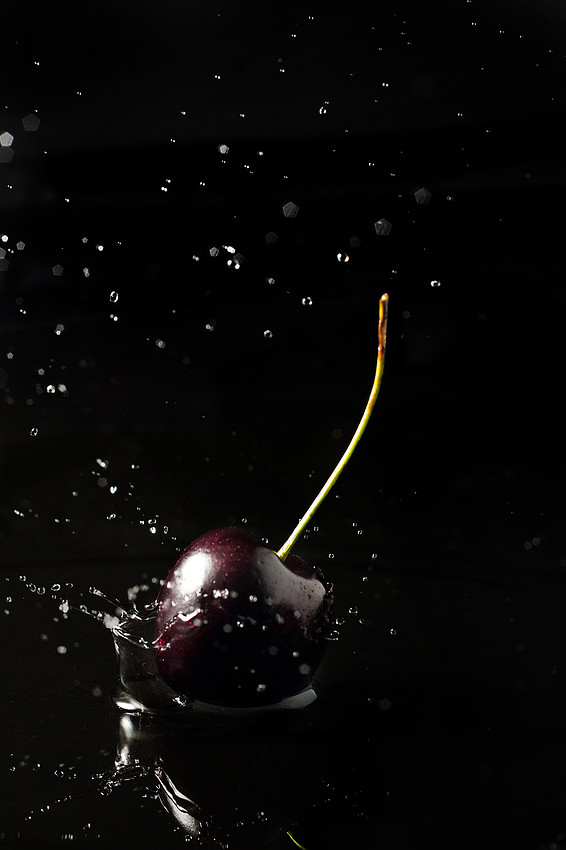
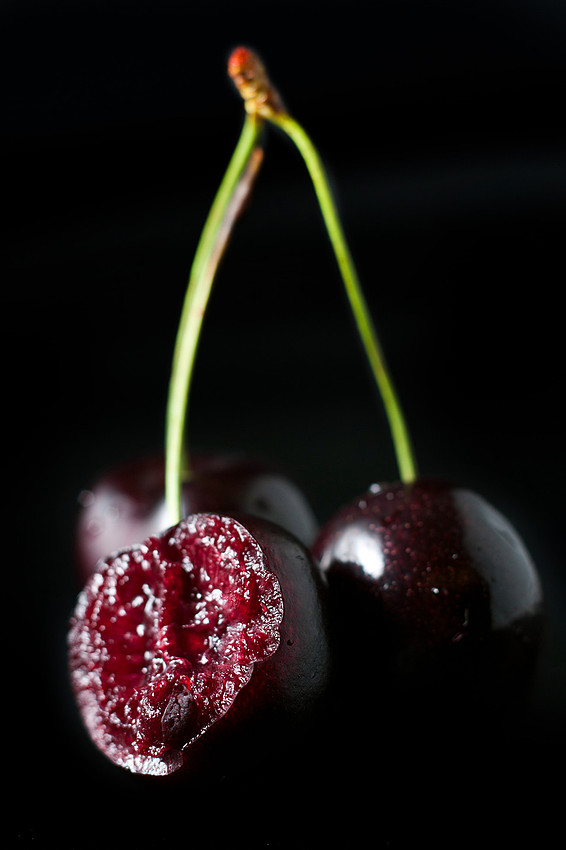
If you have been following my blog for a while, you might remember a couple of posts from last year, sharing the results of some natural vs artificial light experiments in my light tent. This time I wanted to see how many different ways I could shoot one subject using a single light in one position, with one backdrop and a reflector. I love setting myself little experiments like this, and I'm hoping to do more maybe including the set-ups so if you a light nerd like me and find this sort of thing interesting, send me some suggestions for for subjects or lighting.
You can see some of the other similar posts here