Photographer Filofax Setup 2016
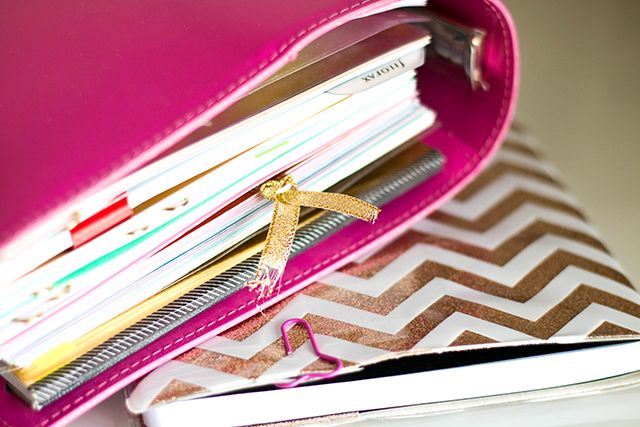
Anyone who knows me well, knows that I'm one of those people who gets their kicks from organising things and shopping for stationary. This isn't to say I'm all that neat really, but I love to read, to learn and to study and plan, which leaves my brain so full with ideas that I'd end up getting nothing done because I wouldn't know where to start with it all. So being a visual person, I write it down. And being a creative person, I then colour code the life out of it. And then I can feel like I've gained some semblance of control over the chaos in my brain!
So if, like me looking at pictures of how other people organise their stuff is an endless source of fascination, then stick around and prepare your eyes for a feast. And if not, well then just keep swimming towards the next post guys, because there's nothing here for you.
When I started getting more opportunities to shoot photography sessions and I found myself with a lot of different plans, dates and information to remember over a long period of time, it just made sense to get some kind of planner for it all and to help me make sure I had all of the correct information about the right shoots, all in one safe place rather than just drifting around in my head waiting to be replaced by some irrelevant toddler related fact and then forgotten entirely.
Enter Filofax.
I decided to go with Filofax because I've had one for as long as I've been able to use one, even if some unenlightened individuals think that this makes me some kind of a nerd (and so what if it does, so what? At least I'm an organised nerd). I think my first one arrived as a Christmas gift when I was around 9 or 10, it was furry, yellow and I loved it so much I've used them ever since.

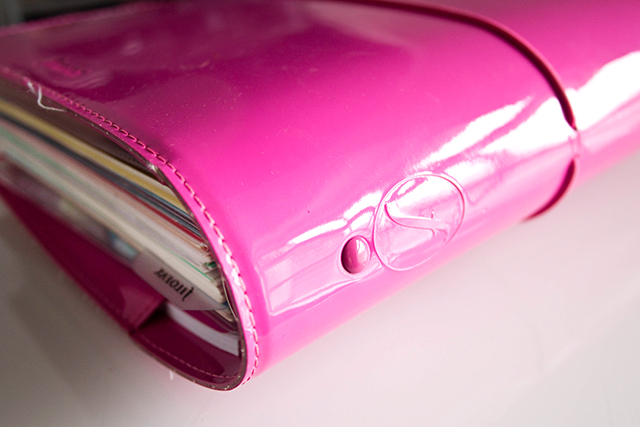
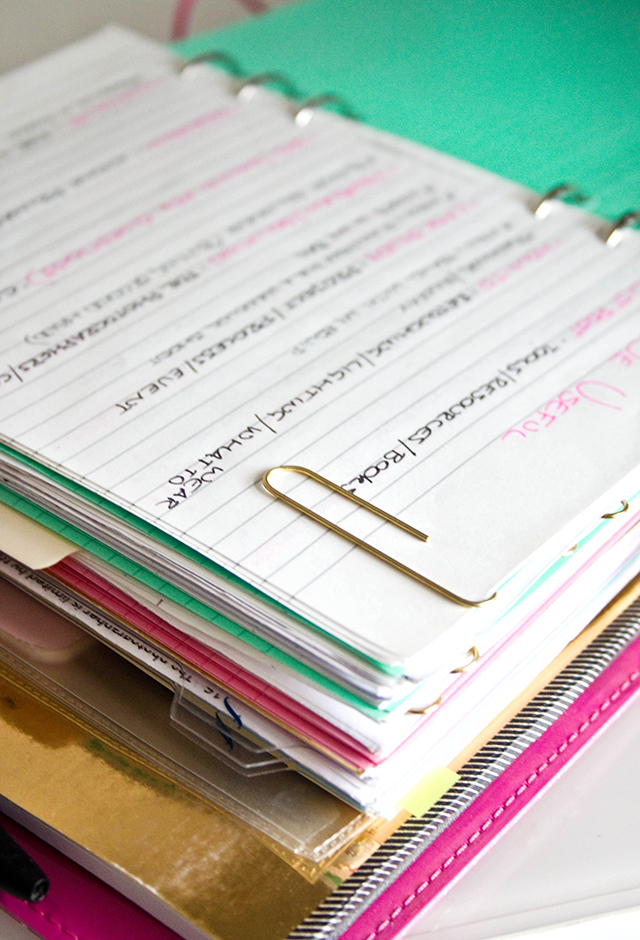
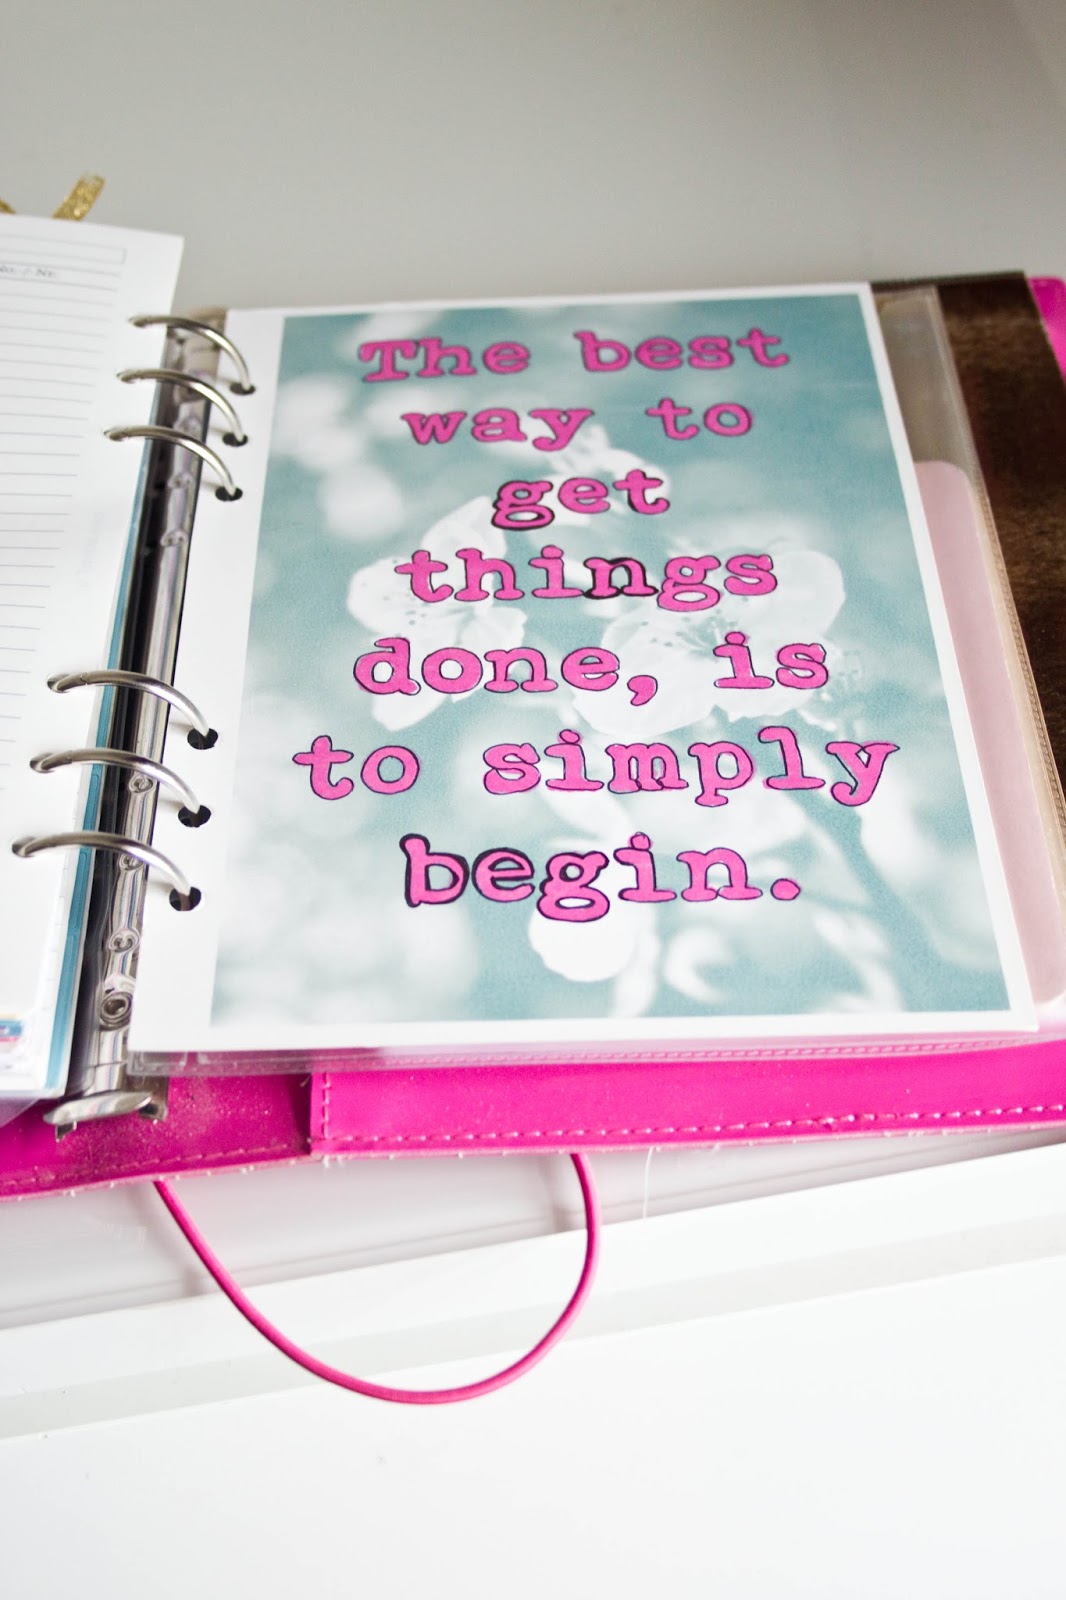
My current planner for photography is an A5 Domino. I got a larger size because it doesn't really move off my desk, crammed as it is with information I'd be lost without and so it doesn't really need to be portable. The Domino choice was also a no brainier, as much like a pair of maternity jeans, the elastic closure is far better at accomodating a bulging middle than a snap closure would be.
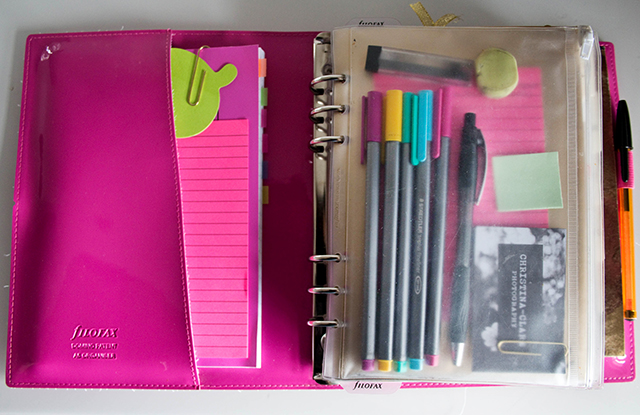
The binder opens up to an A5 pocket where I keep a notebook for writing down ideas and tips that don't necessarily need to go into the planner itself and this is further divided and colour coded to match the sections in the actual filofax. I also clip some sticky notes to the front of the notebook so I can grab them easily. That's right, I keep a sticky note notebook on the notebook that I keep in my notebok. I feel an Xzibit meme coming on...
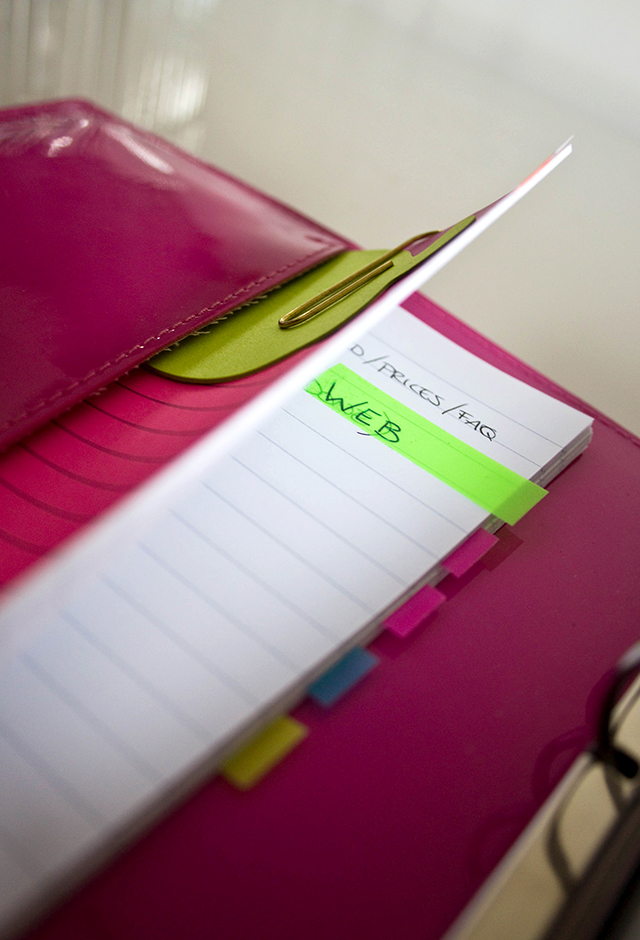
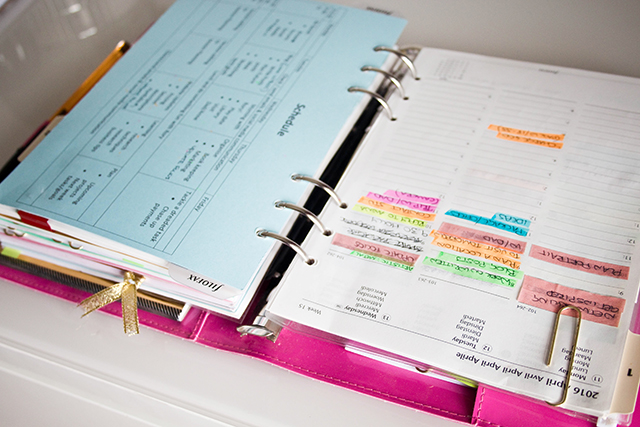
In the middle of the weekly pages I keep a rough schedule of tasks so I have some kind of basic structure to the week. This is great for days when I think I don't have anything to do, only to then end up buried in little tasks the next day that I hadn't foreseen and by dedicating particular days to particular tasks means I can make sure things like my portfolios are being updated consistently instead of dumping a whole lot of images in them all at once ever few months.
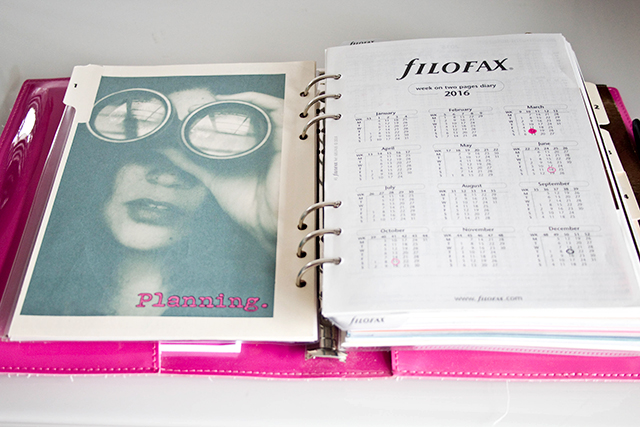
After the calendar I have another divider, separating it from the rest of the planning section. This part is mainly lists that aren't time specific (master to do list, equipment I want, short and long term goals, etc)
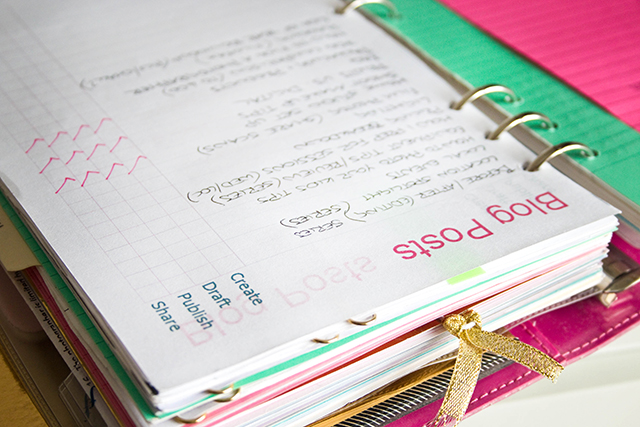
Section 2 is for web stuff, where I keep a huge list of notes for ideas for blog posts as well as a tracker so I know which posts have been drafted, published and shared.
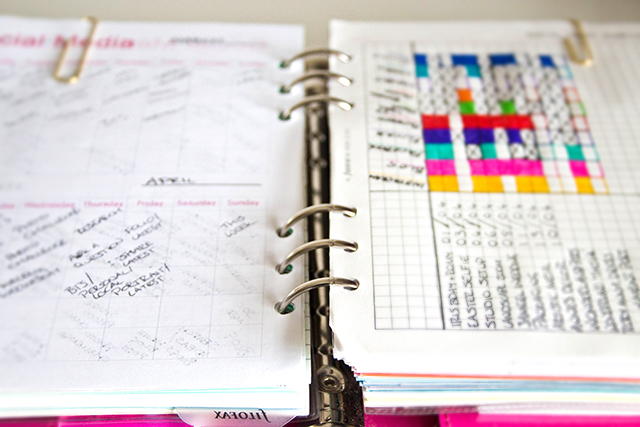
I also keep a schedule and bullet journal style tracker for my social media sites and folios, so I know what to share and where to share it.
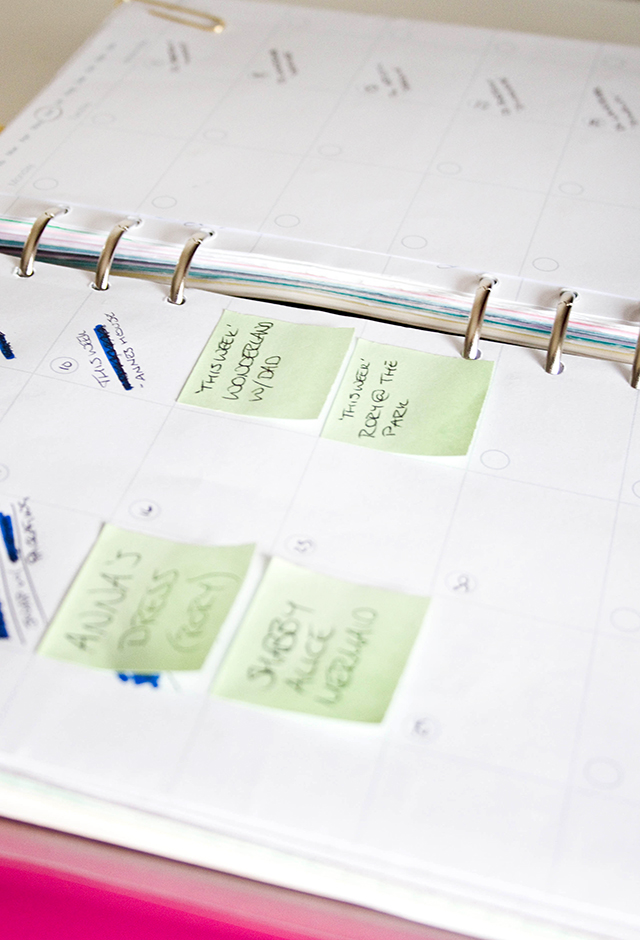
I used to write the posts directly on the calendar, but I'd always end up swapping and changing the dates for things and so I find it easier now to write them on post its so I can chop and change the dates without the calendar becoming chaotic.
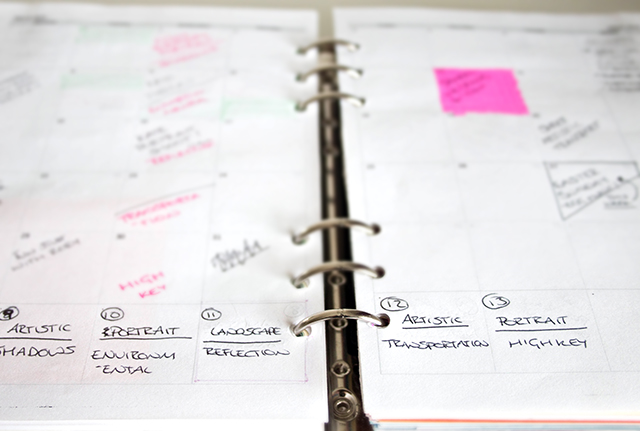
After that I have the first section for photography where I keep another month to view calendar that I use to schedule shoots, and note down any ideas for potential things to photograph that month. I know 3 calendars seems like a lot, but planning blogs and shoots in the daily section meant I couldn't see far enough ahead at a glance and combining the photography and the blog post calendar was just too confusing, while this system suits me fine.
At the back of this section I have a photography specific to do list, ideas for possible locations to visit and notes for session ideas I'd like to try out.
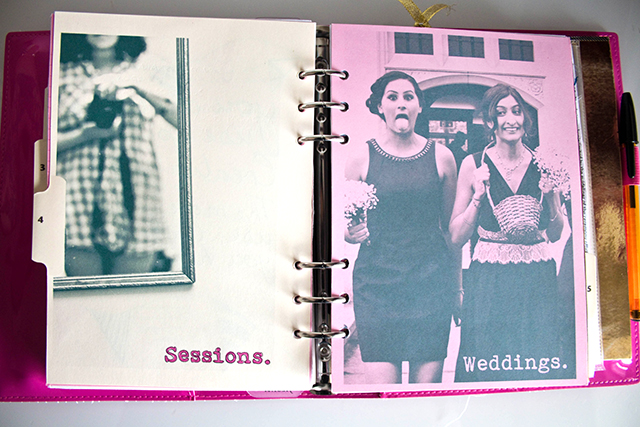
Section 4 is for planned photography sessions, which I like to have apart from the previous section because everything in this one is specific to commissioned work. The first part is for weddings, and is where I keep print outs of my package price list for clients and then a breakdown of what each package covers specifically for my own reference.
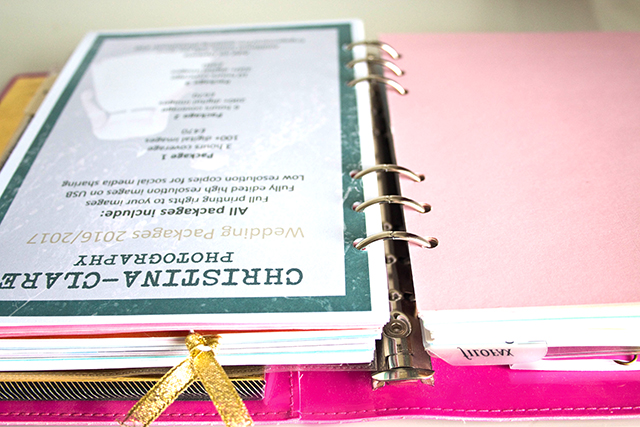
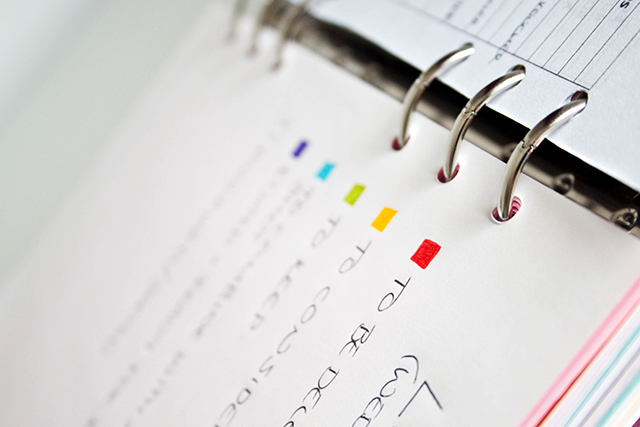
I have my equipment list for weddings, a write up of my colour codes (don't look at me like that) that I use in the editing process and other notes for session add-ons and other bits and bobs.
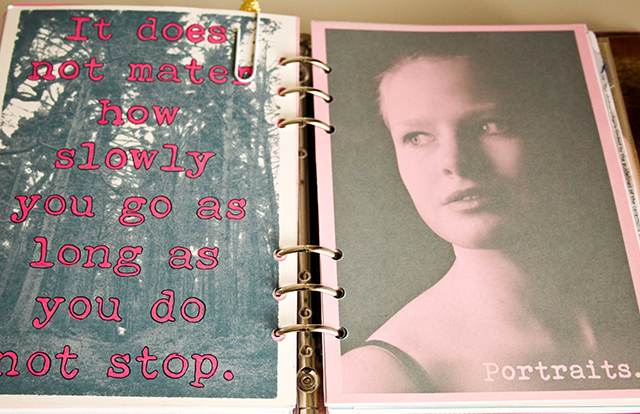
The second half of the section is for portrait sessions, where again I have my price list and breakdown along with ideas and notes on sessions that I'm planning for and information on potential locations.
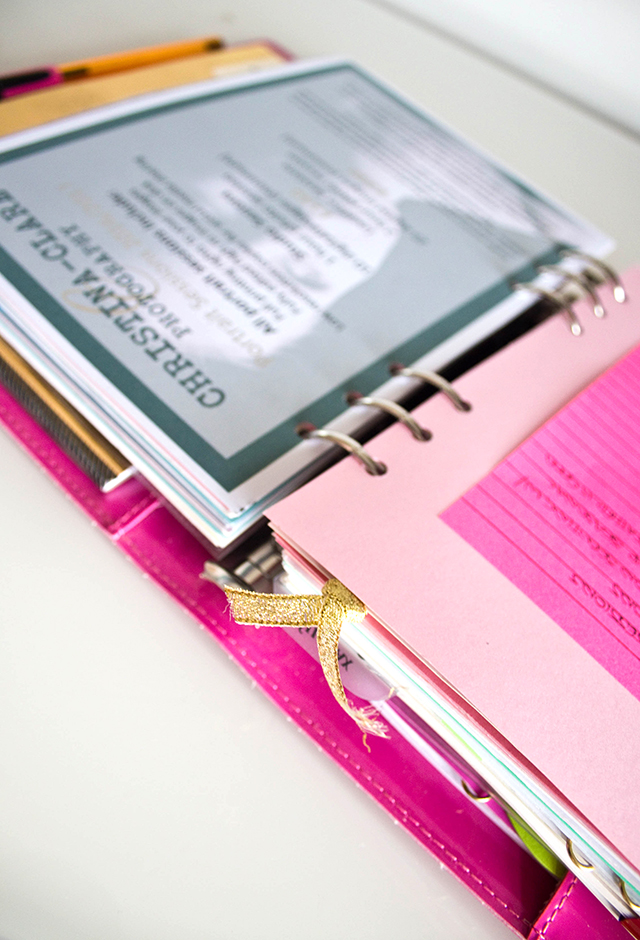
Section 5 is for business where I keep a list of business specific to-do's, a copies of my session contracts, tax information as well as information on and quotes from companies I source from or that I'm looking into using.
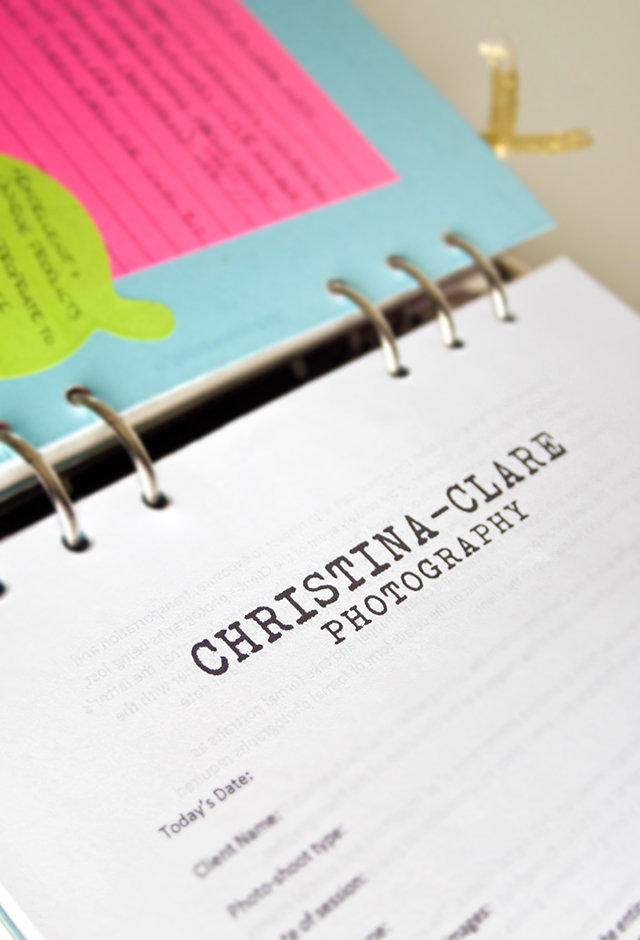
The final section is my client section which is the part that keeps my mind from melting from all the information I have to know about the people I'm working with.
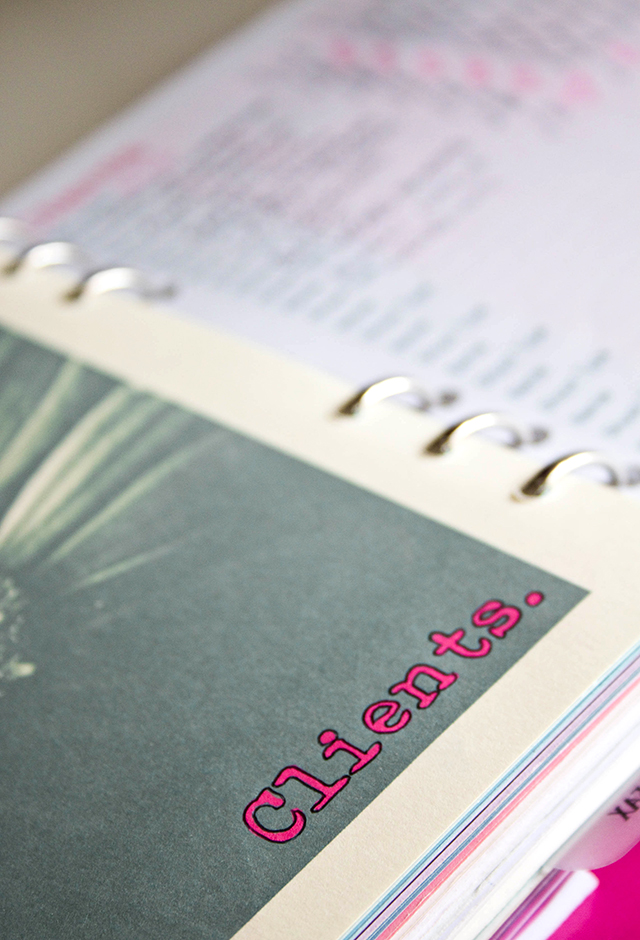
I keep a client tracker sheet for each tax year and track all of the essential details for each client, such as the date for their session, the session fee and deposit cost, contract signing, etc.
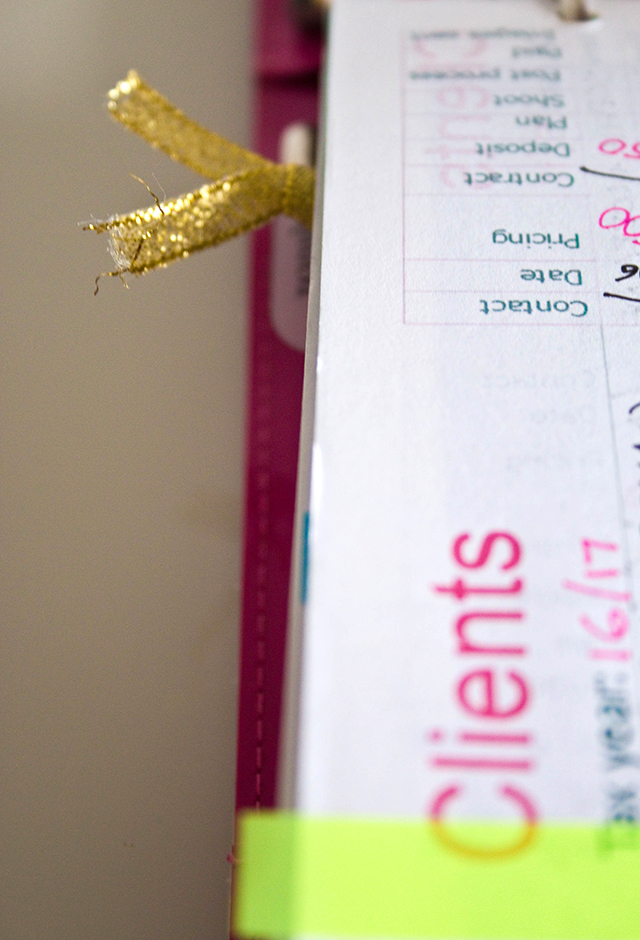
I also keep client workflow sheets where I keep a more detailed list of things I need to know and things I need to do for each session. Such as addresses for venues, specific session times, etc.
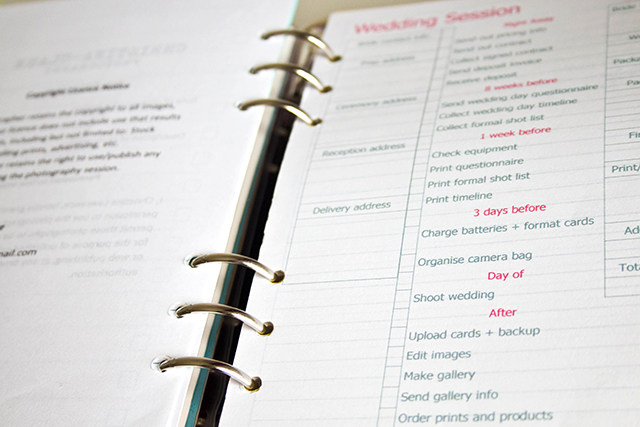
I then have a copy of my print release, notes and to do's and then a section where I archive all of the sheets from completed jobs from the current year.
At the back of the planner I have another top opening A5 envelope where I keep miscellaneous things that have no place in the planner, like this a bunch of designs I made for my business cards. I also keep a little Moleskine notebook in which I keep a directory of important dates that happen every year, like couple's anniversaries which means I can update the planner in the next year without having to go through the old pages.
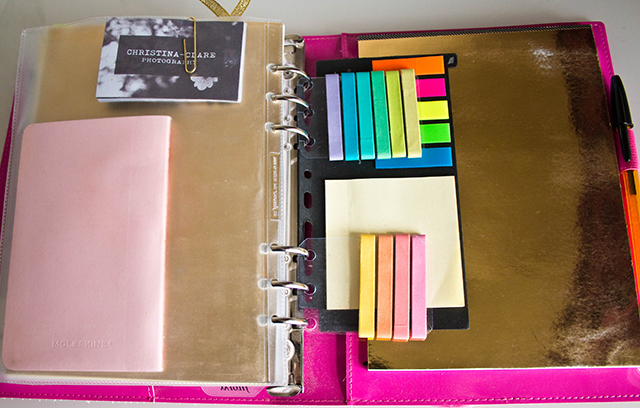
Then I have some washi tape and post it's and finally an A5 pad of sketchbook paper that I use for drawing up ideas and lighting set ups for portrait sessions.
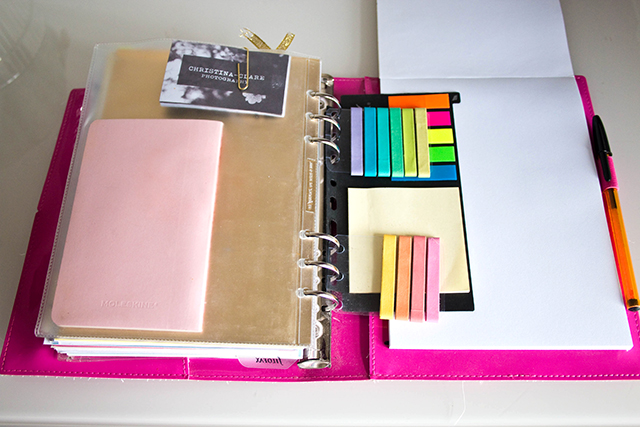
And that's it! My ultimate notebook and a pretty accurate illustration of what my brain would look like if it existed in paper form.
Using this planner has made me far more productive than I ever was without it and is solely responsible for preventing me from falling into blogging slumps where I don't shoot or write anything at all for months on end. And while I know that keeping notes and lists doesn't work for everyone, having an analogue collection of information that I would otherwise have drifting around in various digital locations means I can structure and review things much more accurately and easily. I'd be lost without it!

Leave me your thoughts in the comments (especially if they're colour-code related ;)
This Week - 01/04/2016
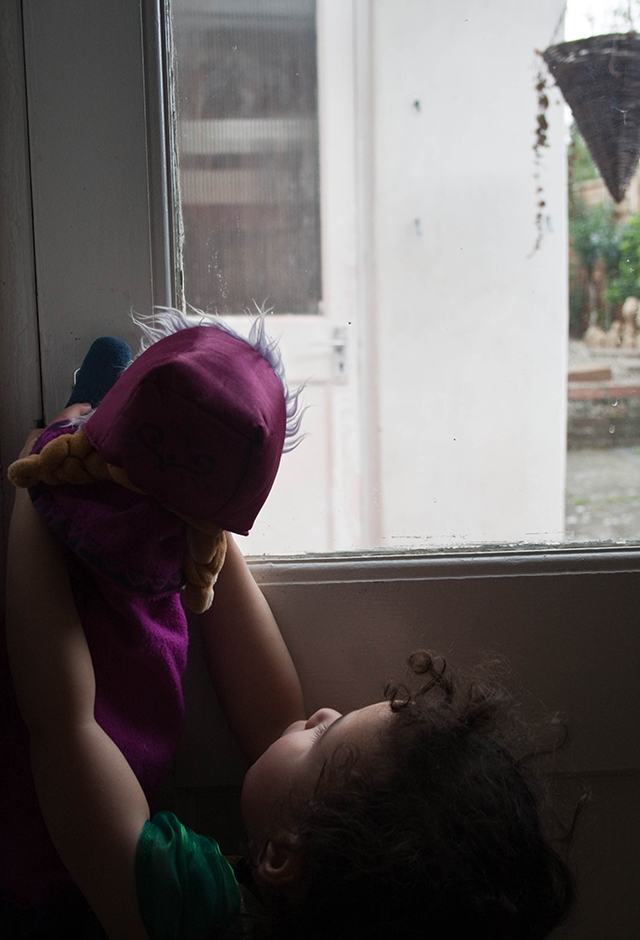
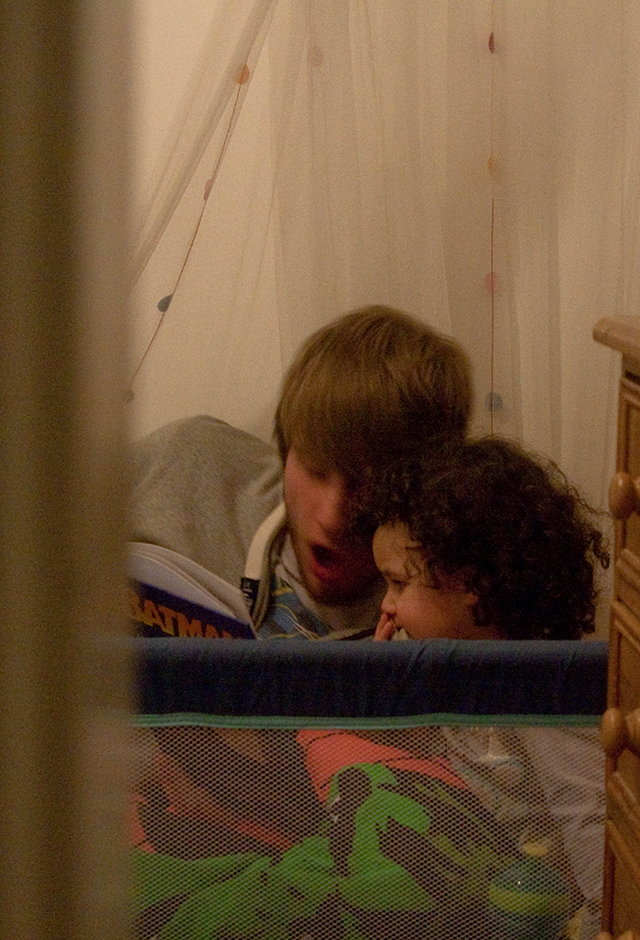
This week has been pretty chilled out really, my friend Andy came for a visit and Rory got a bedtime story from her lovely uncle Matt and we've just generally been vegging around and walking about in the sunshine.
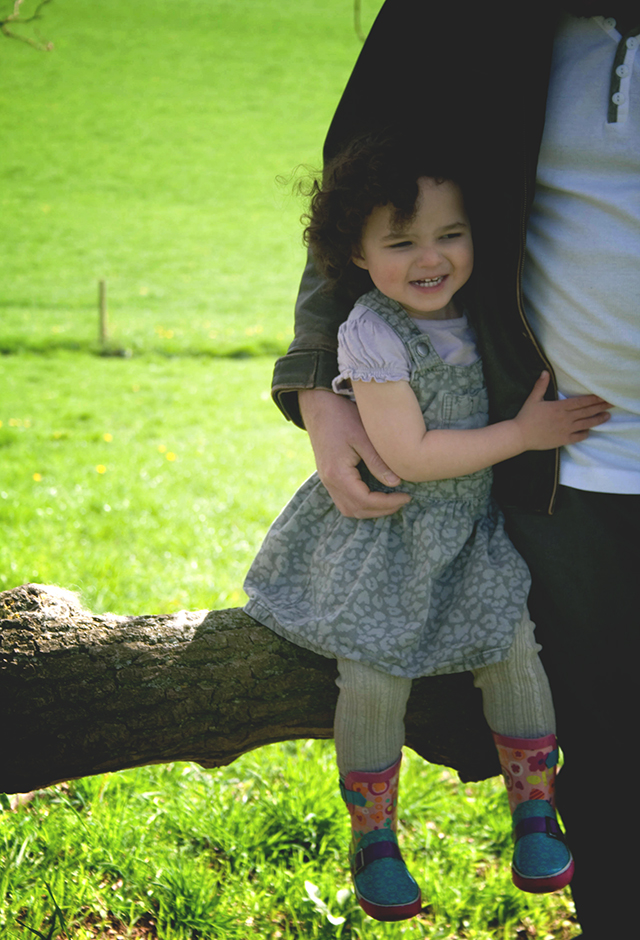
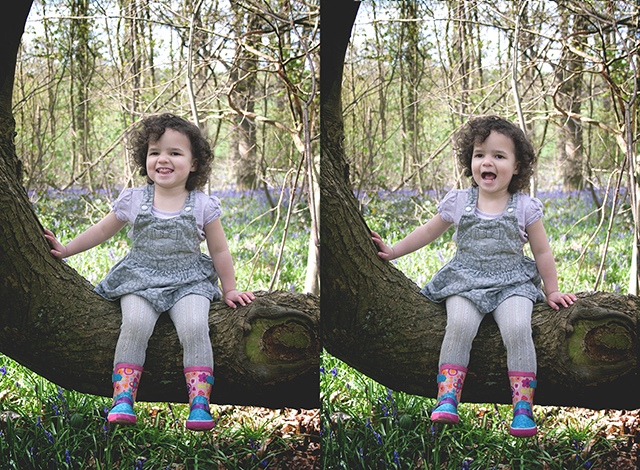
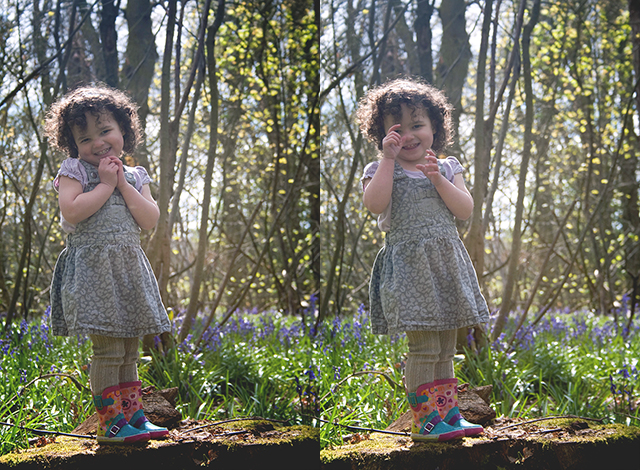
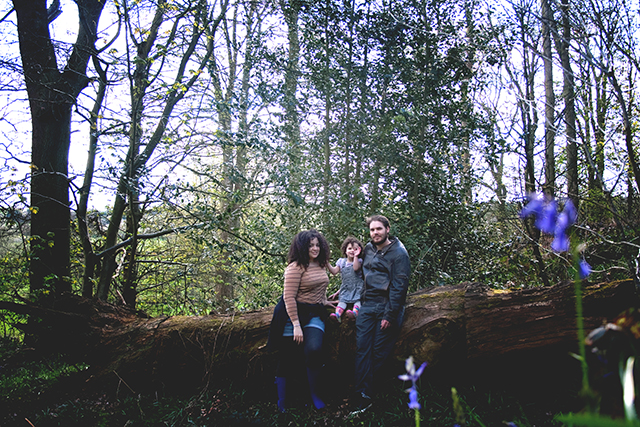
But I thought I'd share some of the cast offs from our bluebell wood adventure :)
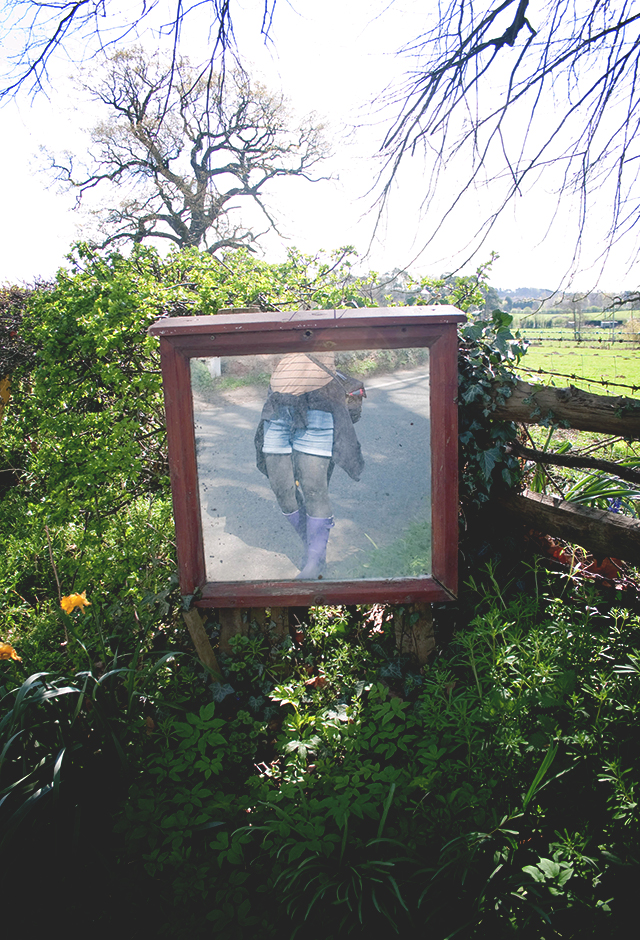
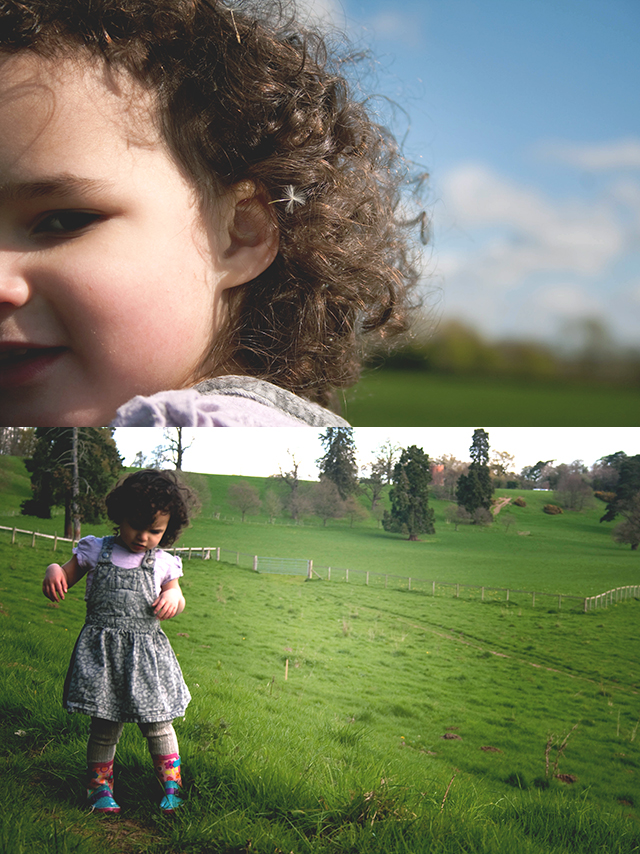
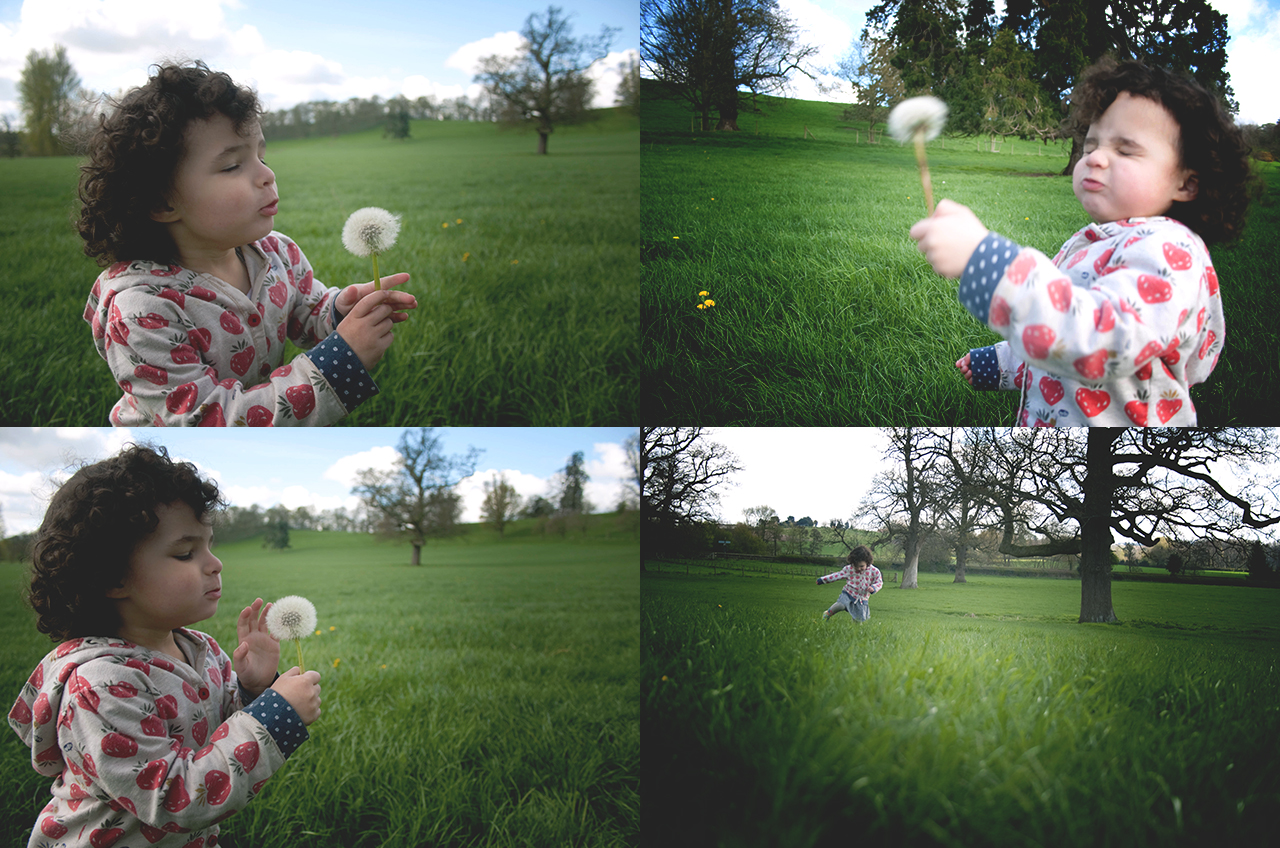
Honestly.
We also found a caterpillar!
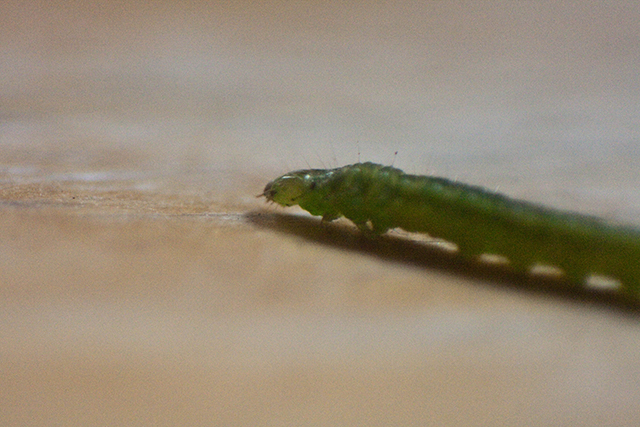
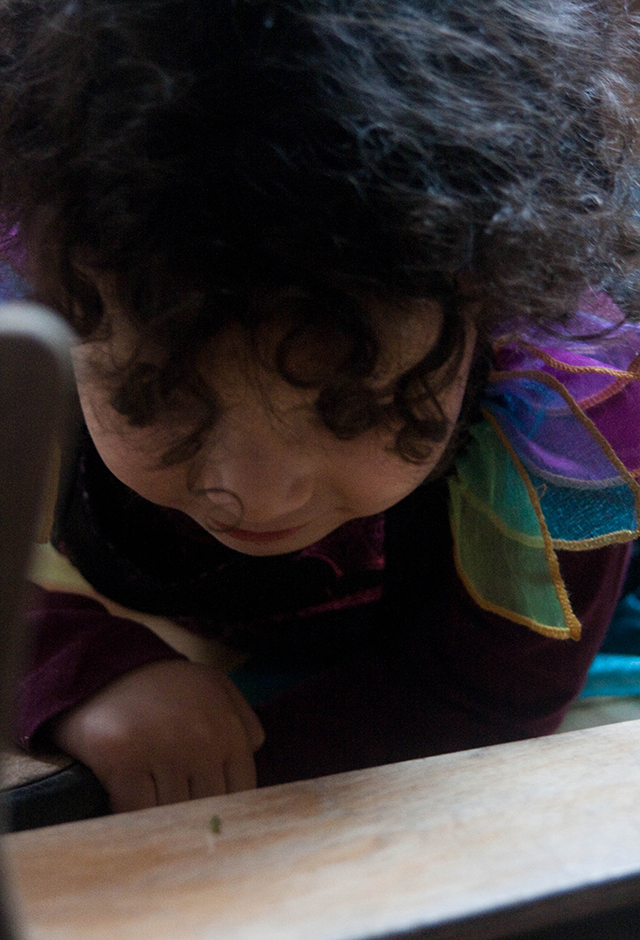
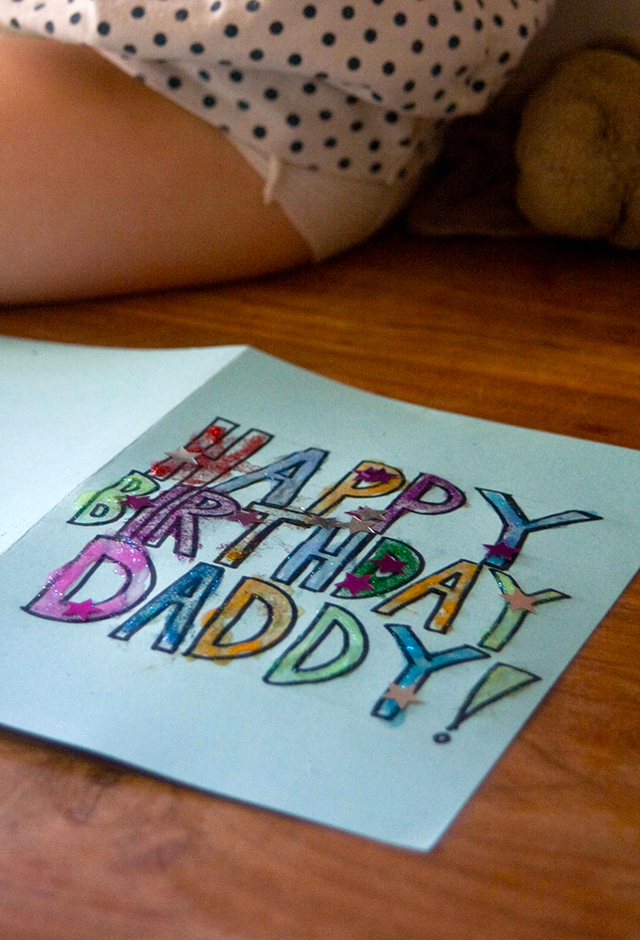
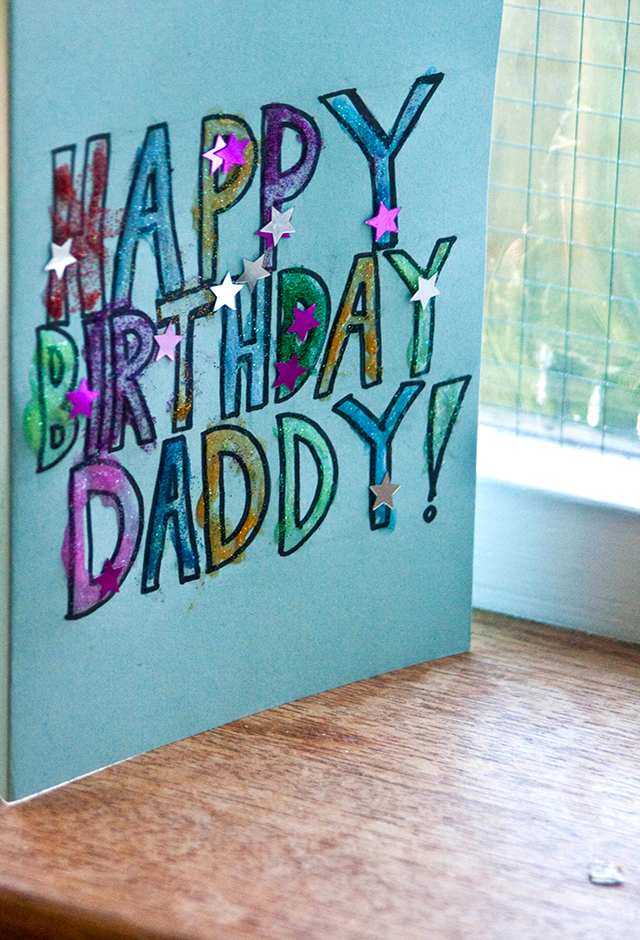
And it was Chris' birthday!
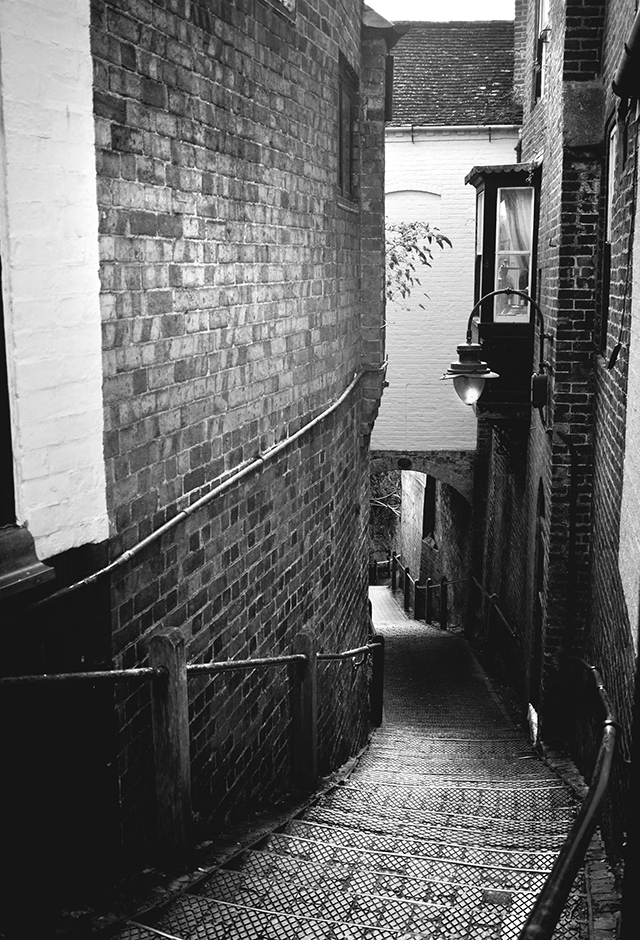
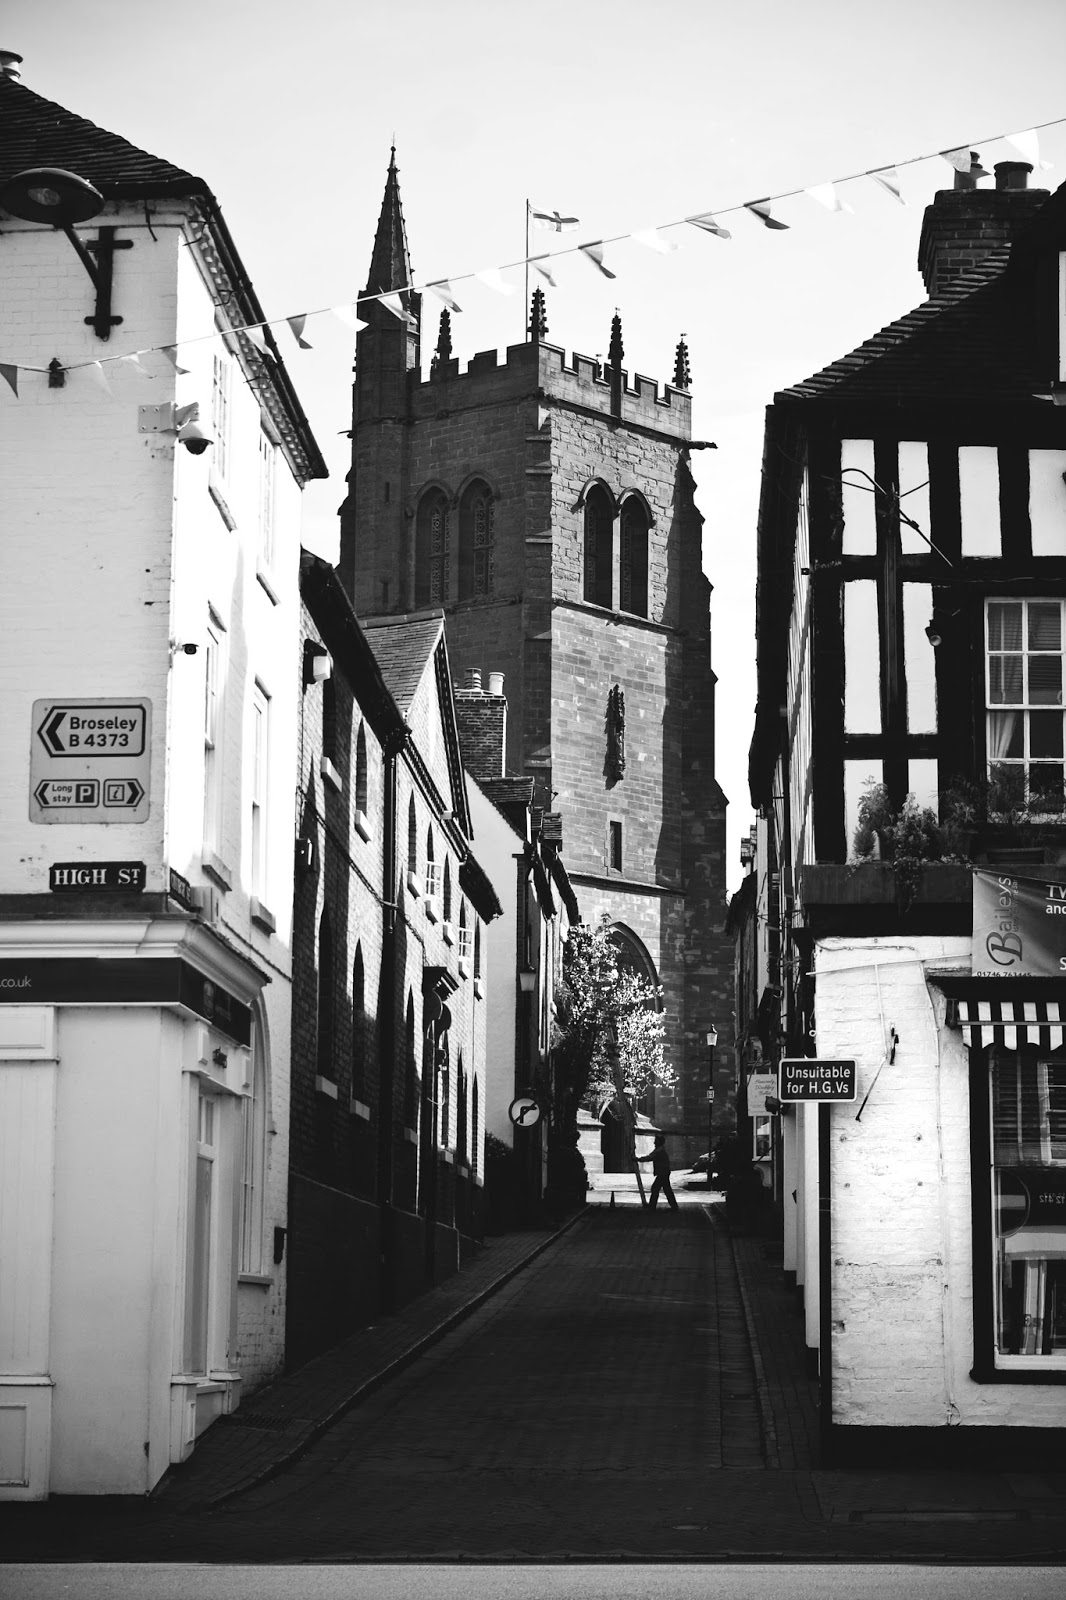
Photo Challenge Week 17 Landscape: Urban Landscape
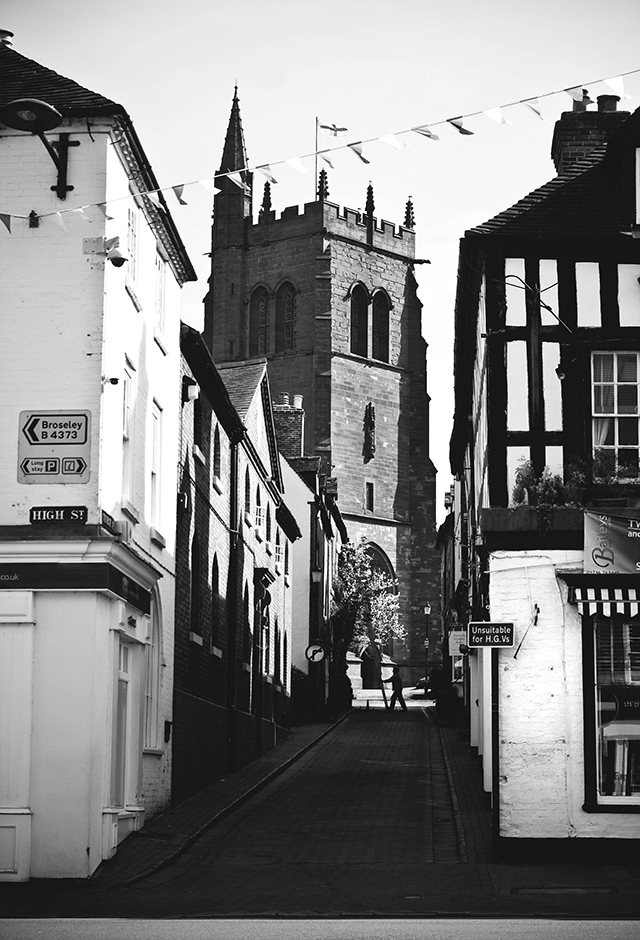
Pictures taken in Hightown Brigdnorth. I love the architecture of this town and how it has remained largely unchanged for so long.
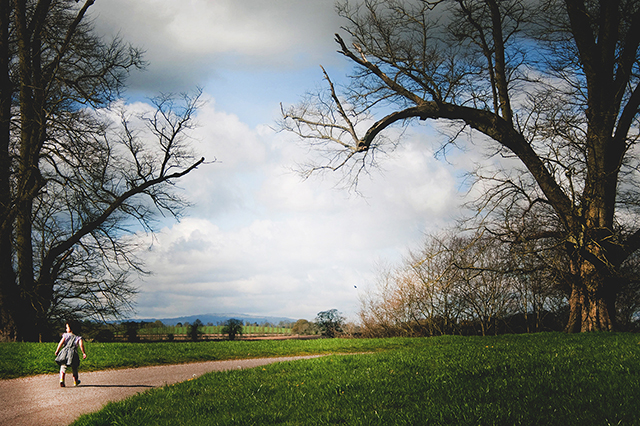
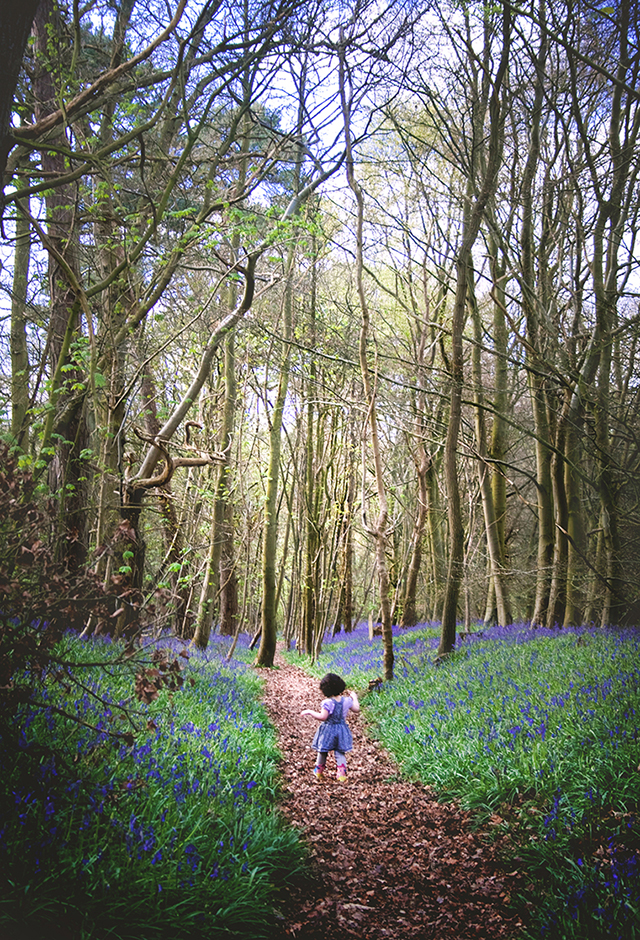
Bluebell Wood
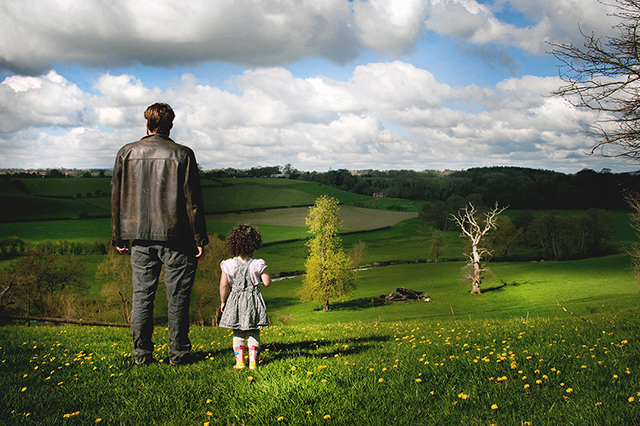
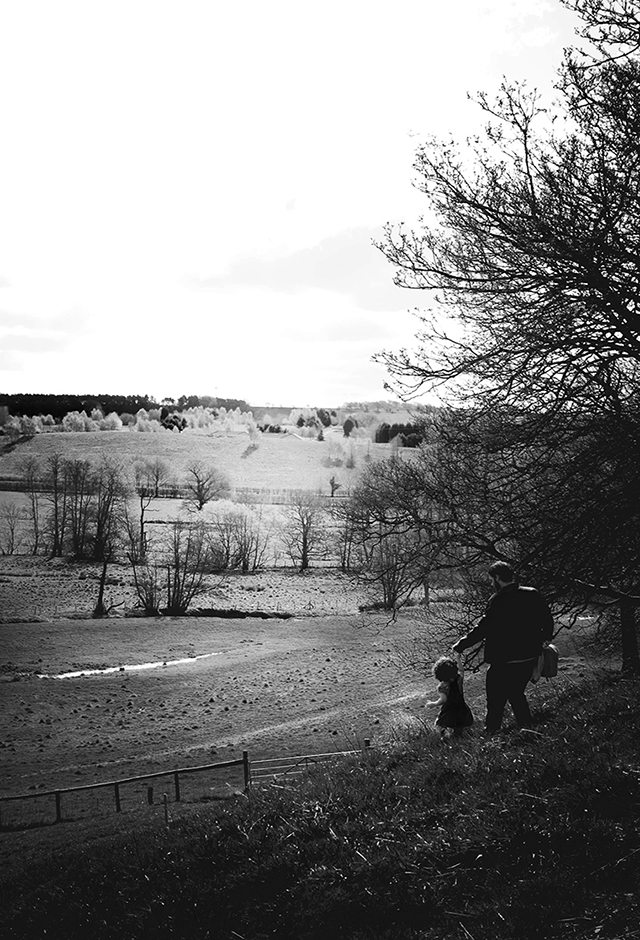
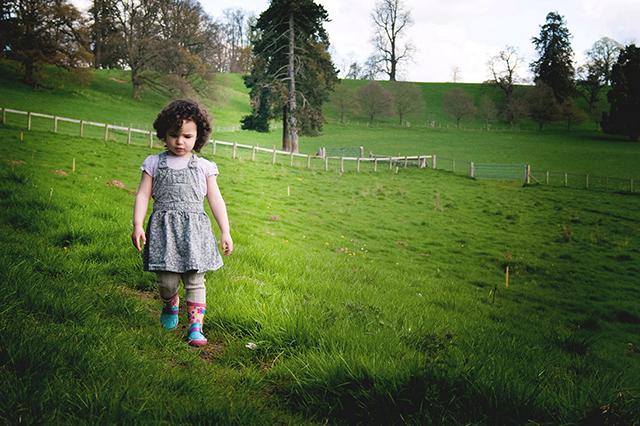
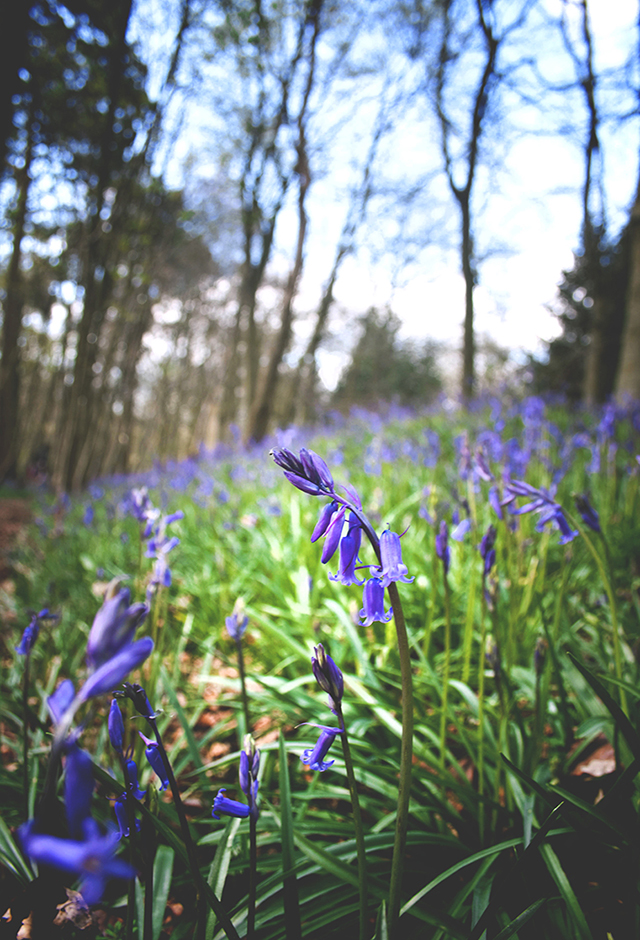
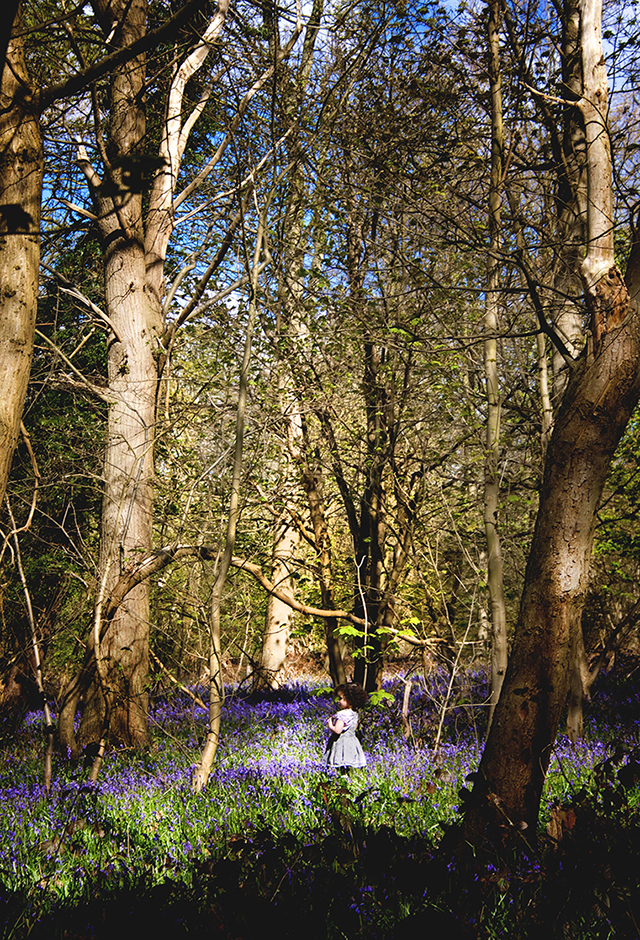
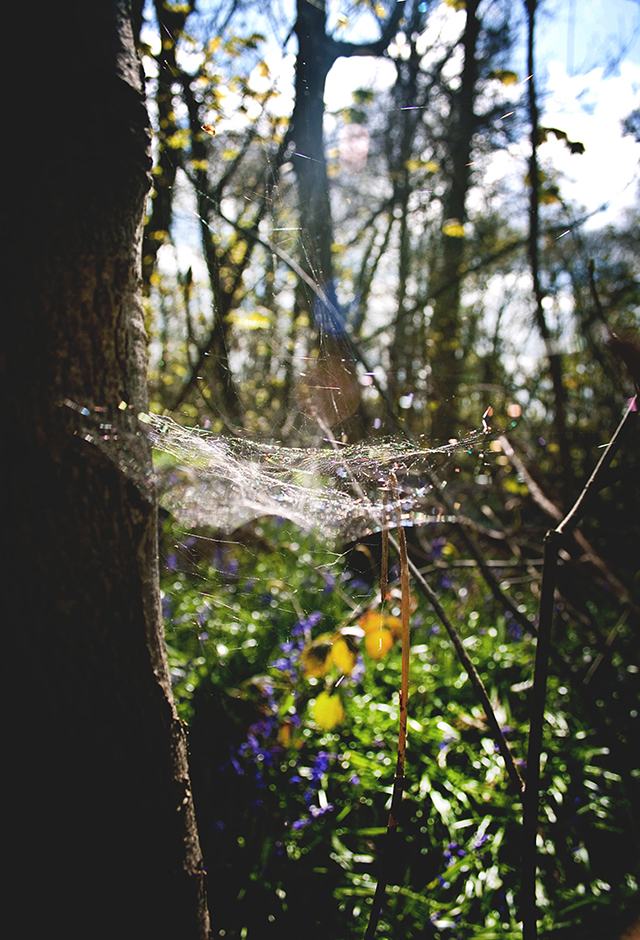
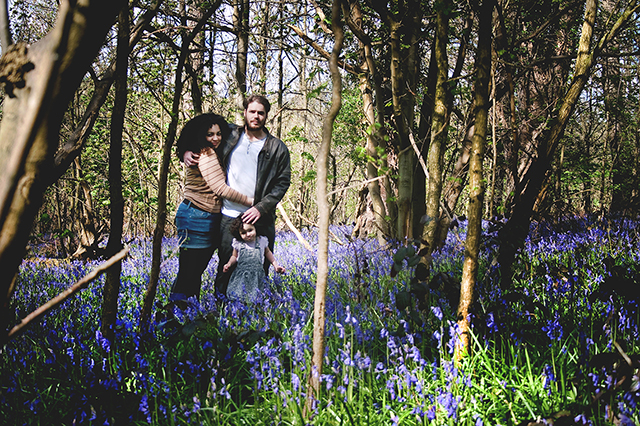
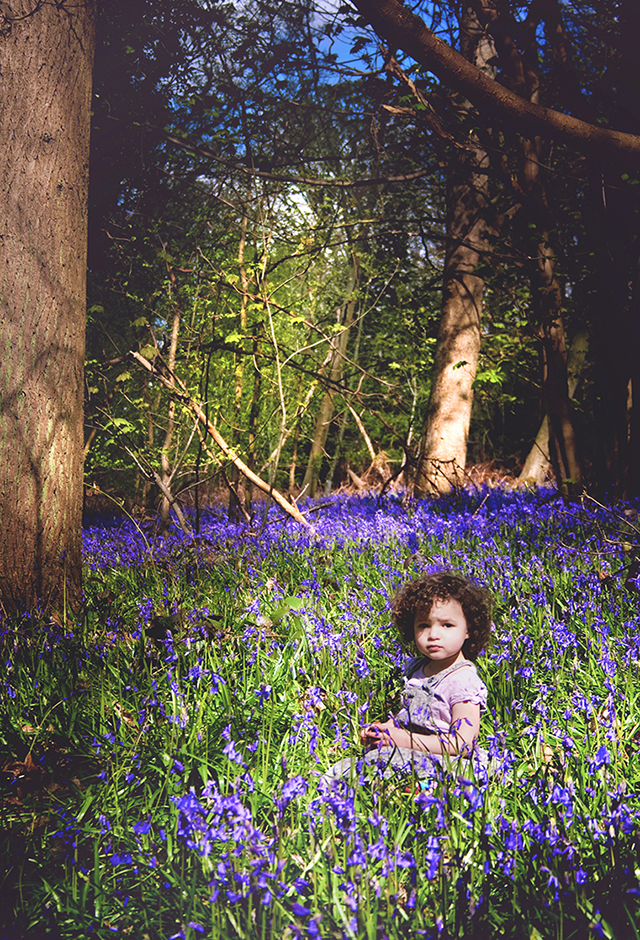
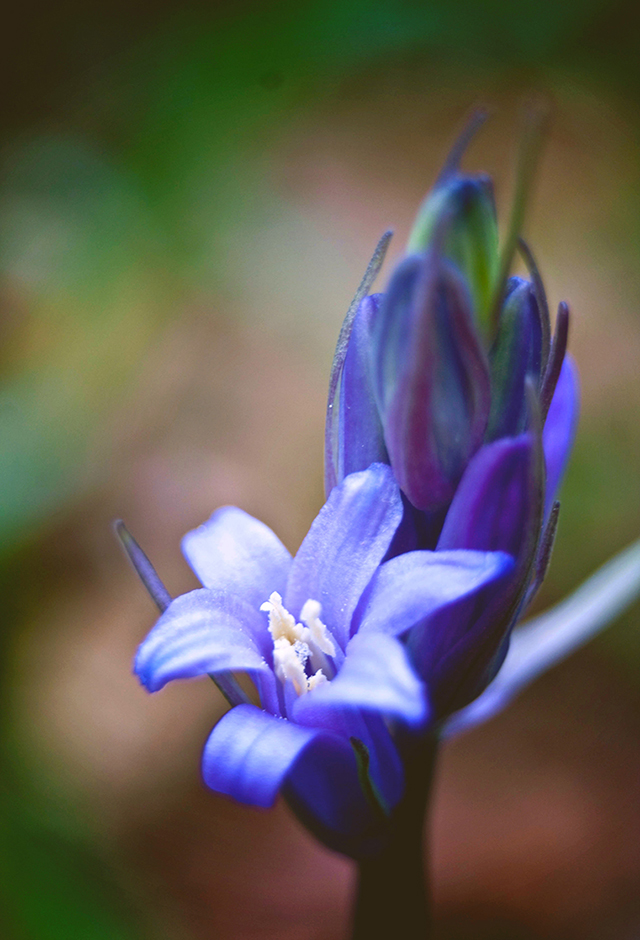
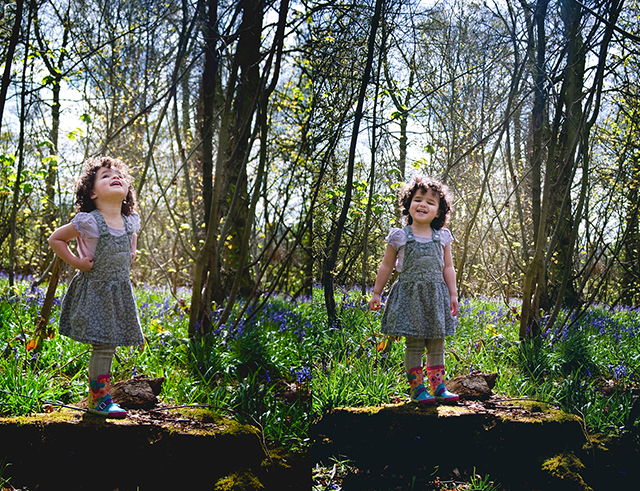
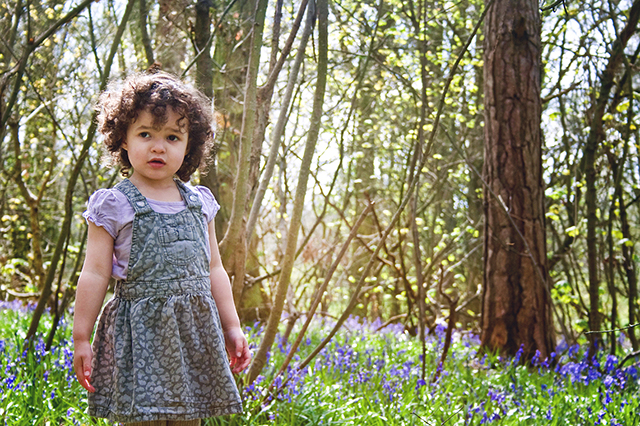
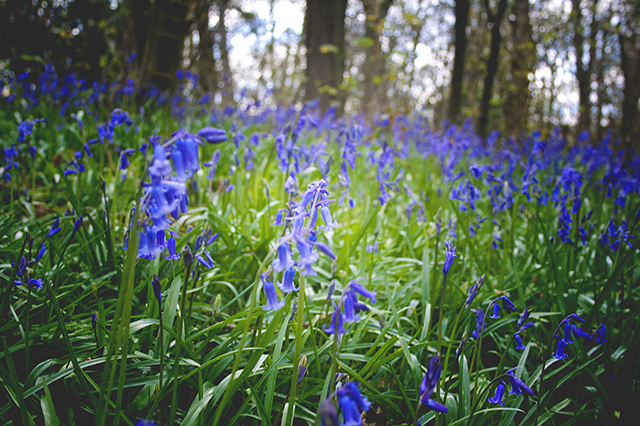
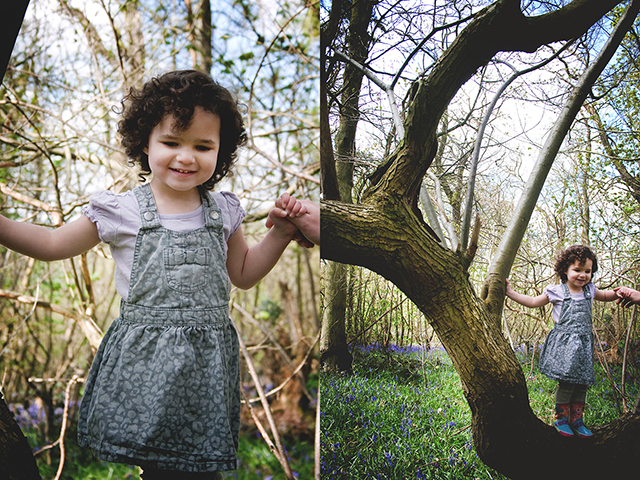
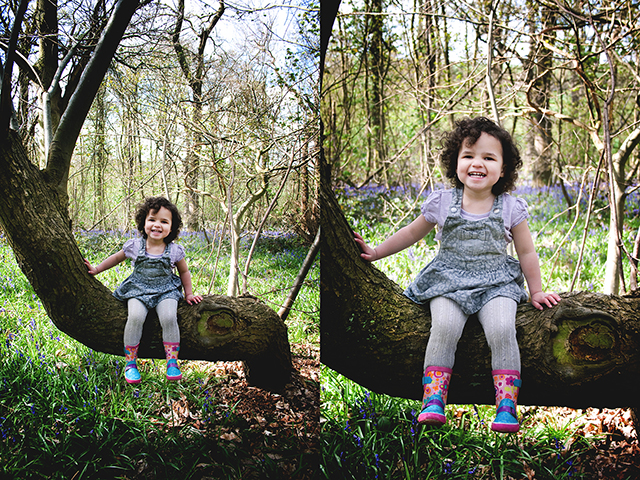
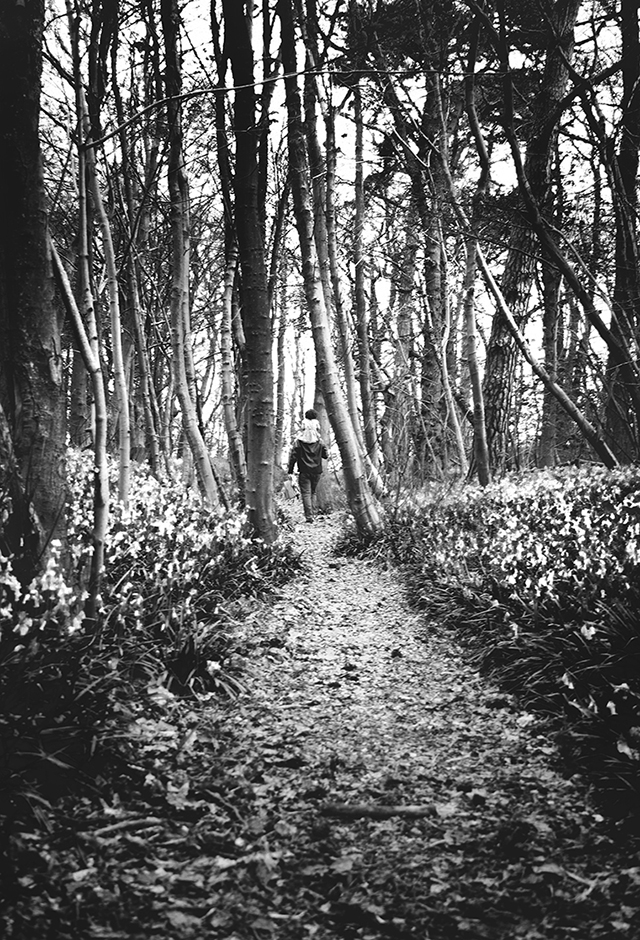
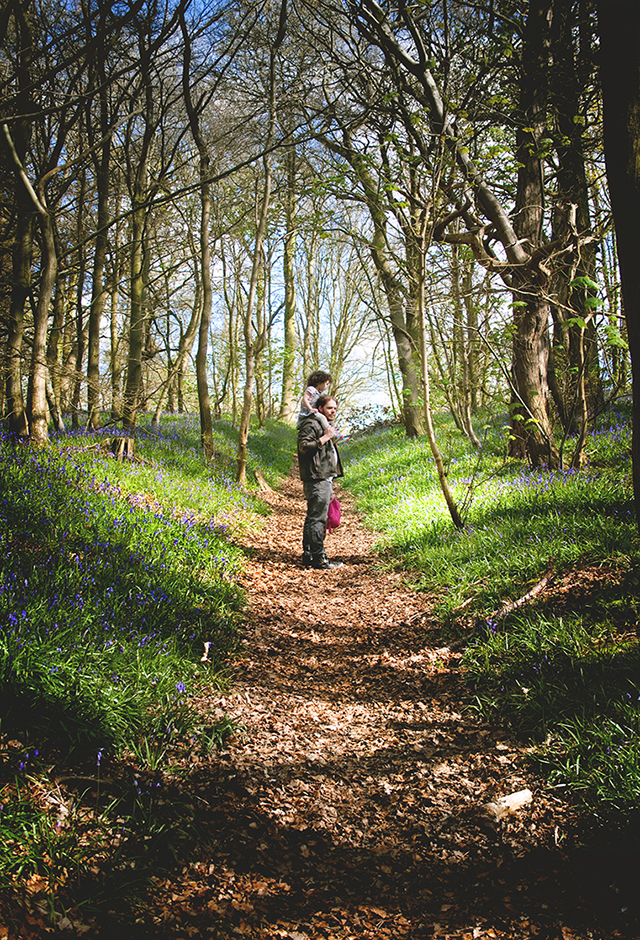
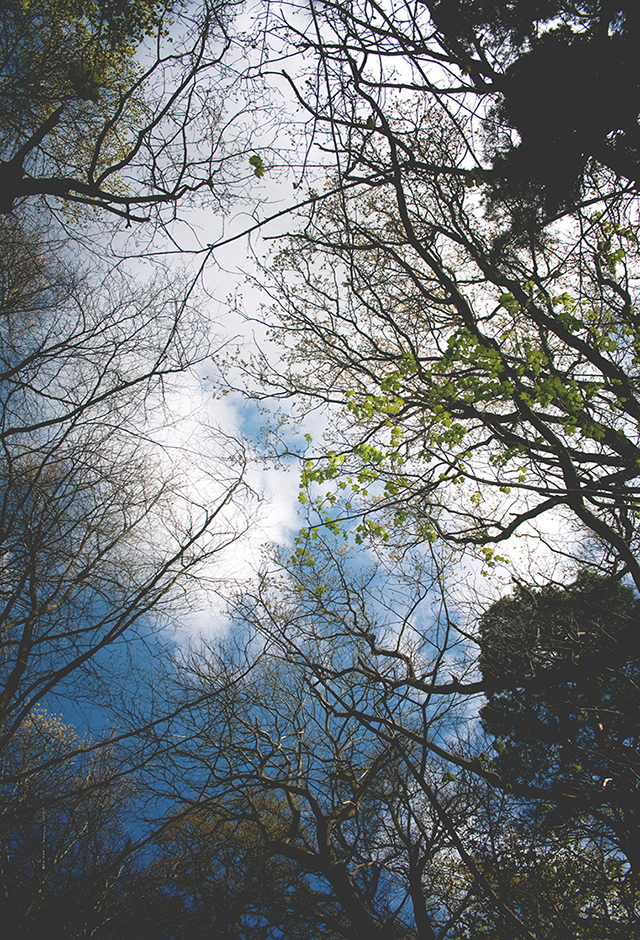
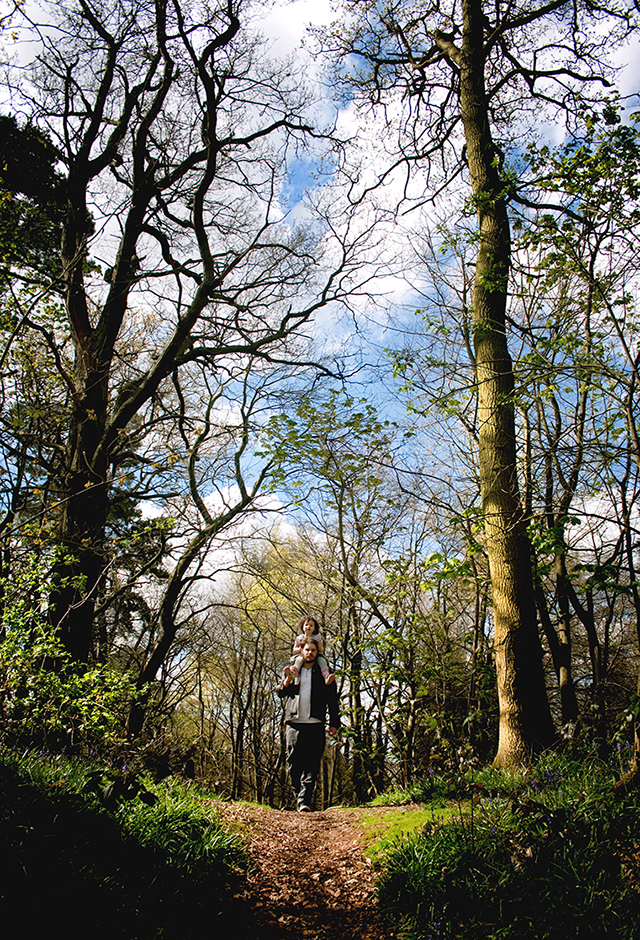
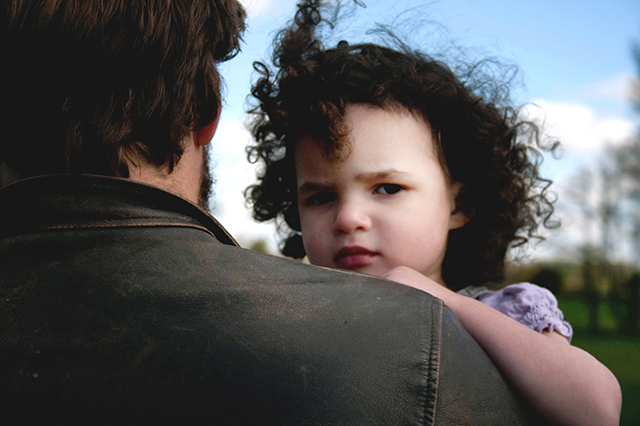
Last year I discovered that we live really close to a bluebell wood (Chempshill Coppice) in Worfield and so I've been waiting for the right season to go and explore it with my camera. It was just as stunning as I'd hoped, and luckily on the day we went we were gifted with the most glorious sunlight. It's easily one of the prettiest places I've ever seen, perfect for portrait photography and right on my doorstep too!
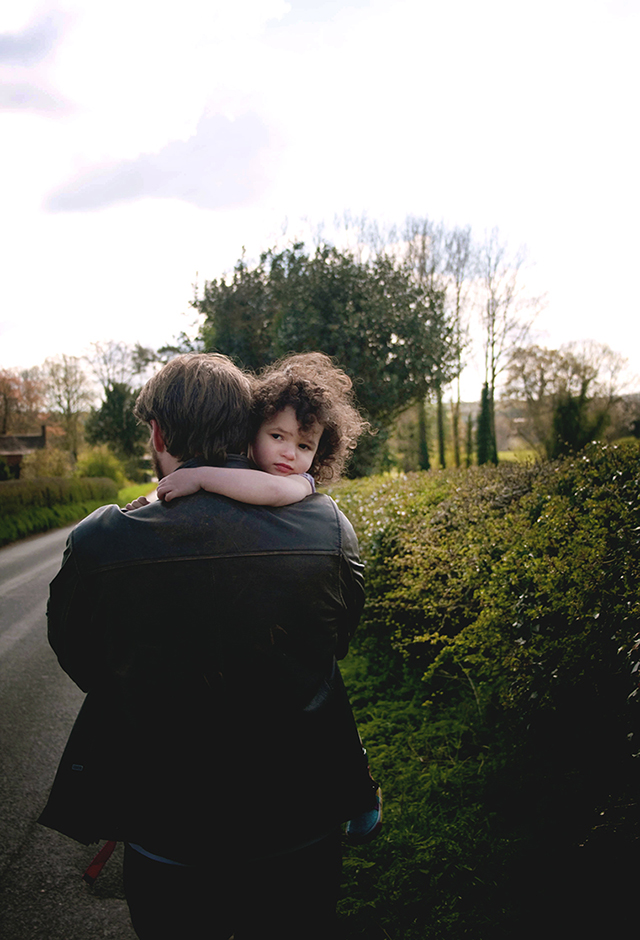
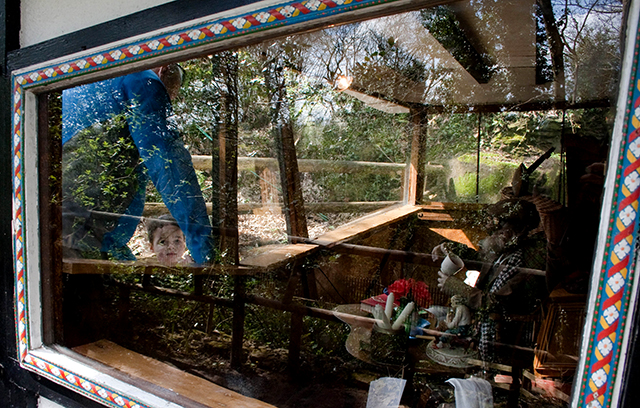
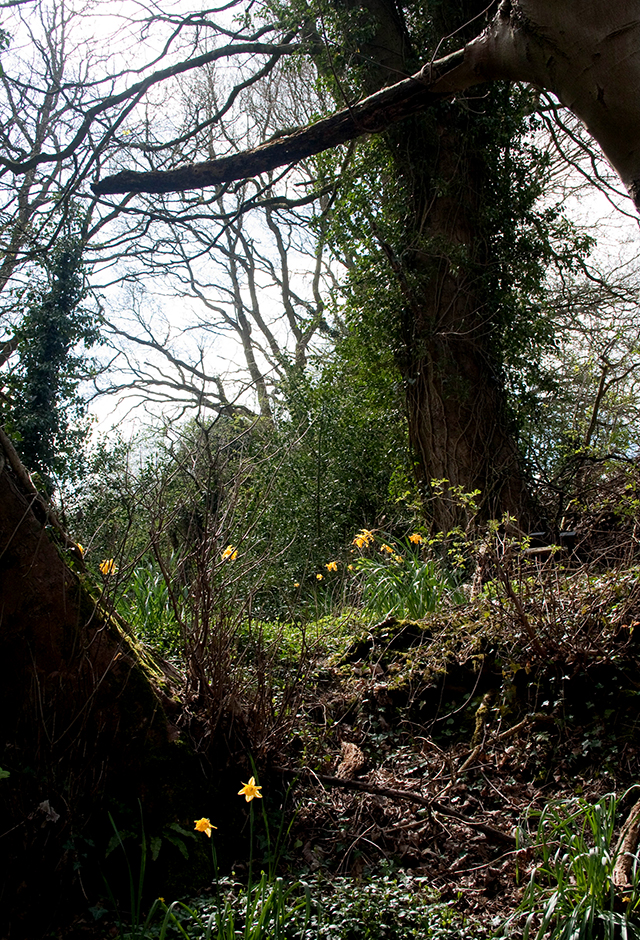
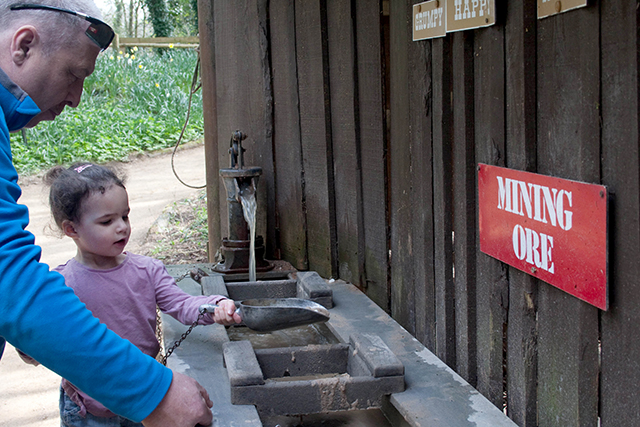
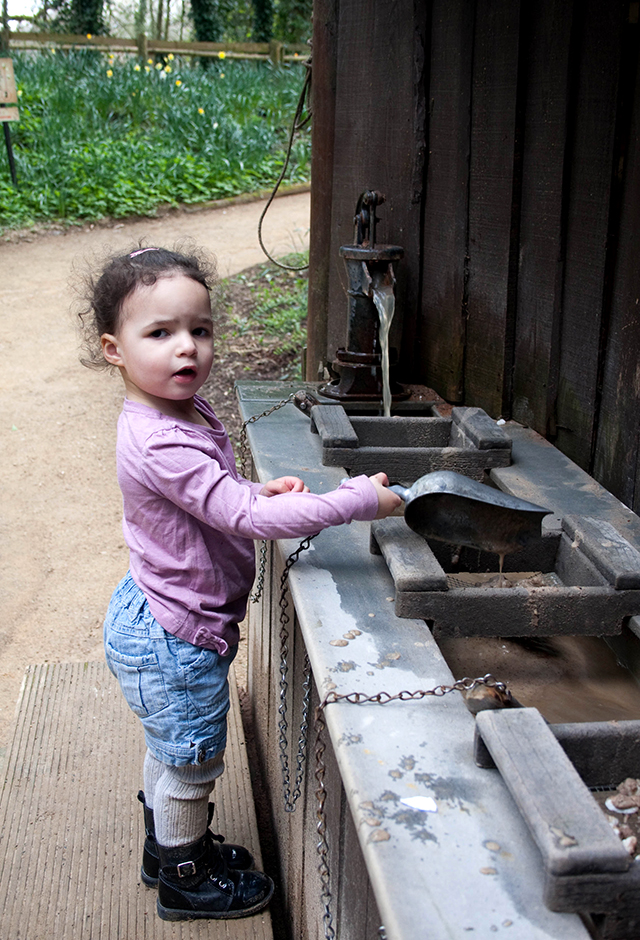
Telford Wonderland (2)
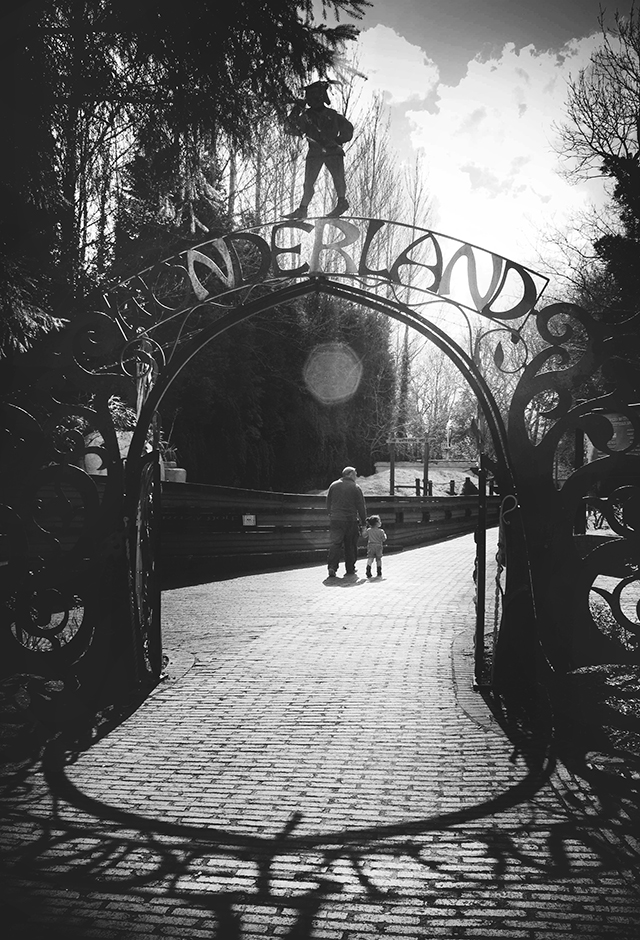
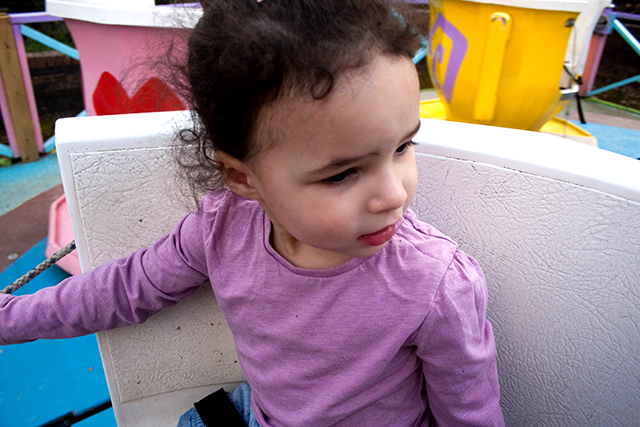
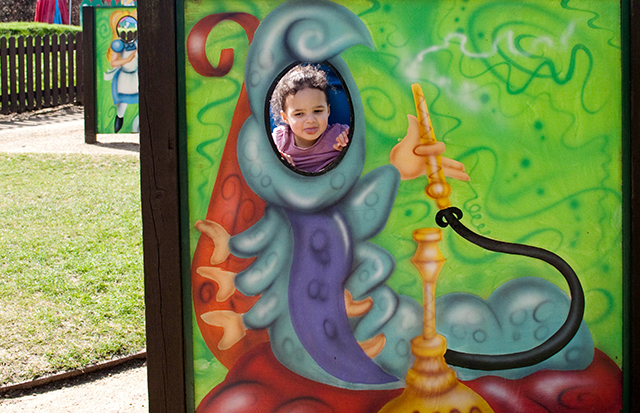
One of my most vivid childhood memories is of the Wonderland in Telford Town Park. I don't know how many times we went, but it must have been a lot.
My first ever date with Chris (if you could call it that) was a trip to Telford, on a mission to find the maze there. Only we were too broke to pay the admission so we skipped it and ate chocolate fountain fondue instead and by 'we' I mean 'I', and if there's only one piece of relationship advice you ever take from me it should be to start as you mean to go on, by stealing their toffee.
So getting to return to the place with my own child in tow was really fun for me. Especially when we discovered that they still have the dinosaurs!
So getting to return to the place with my own child in tow was really fun for me. Especially when we discovered that they still have the dinosaurs!
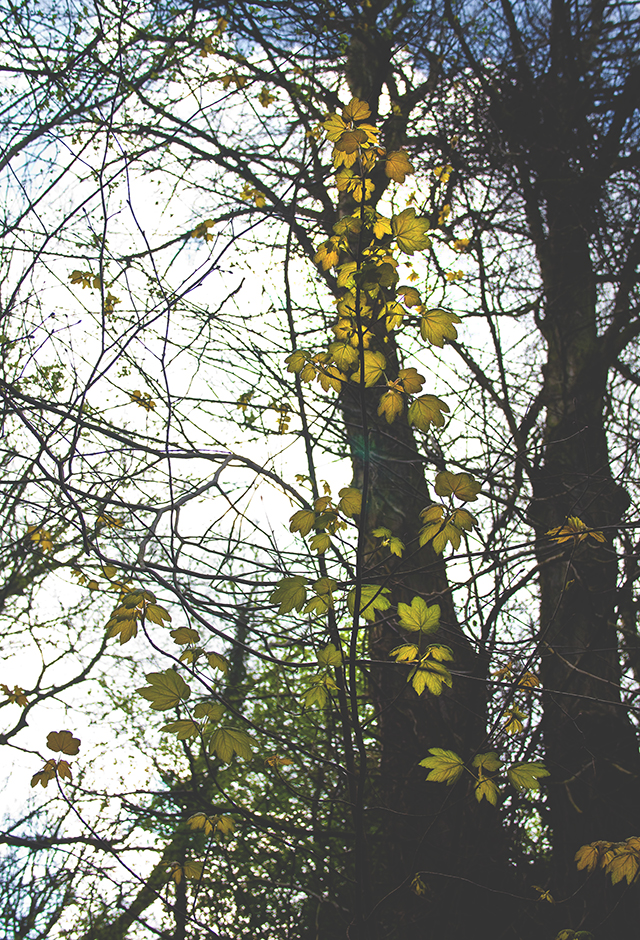
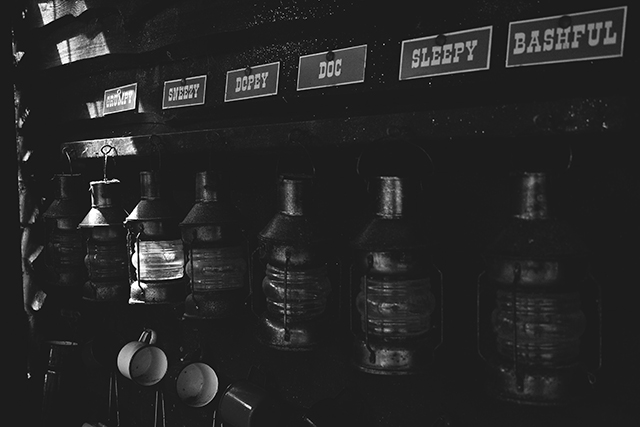
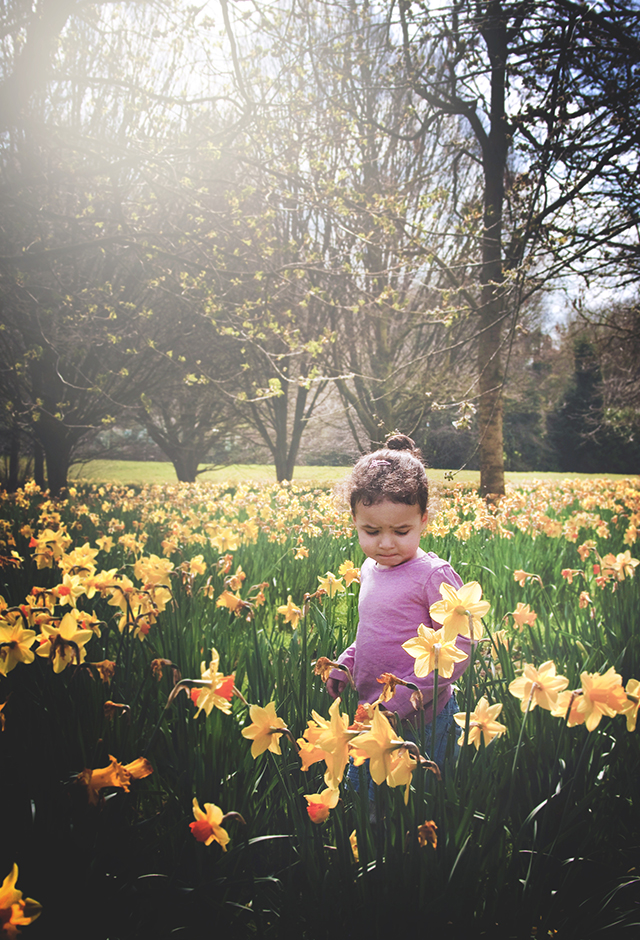
Knit mermaid tail blanket from Shabby Alice
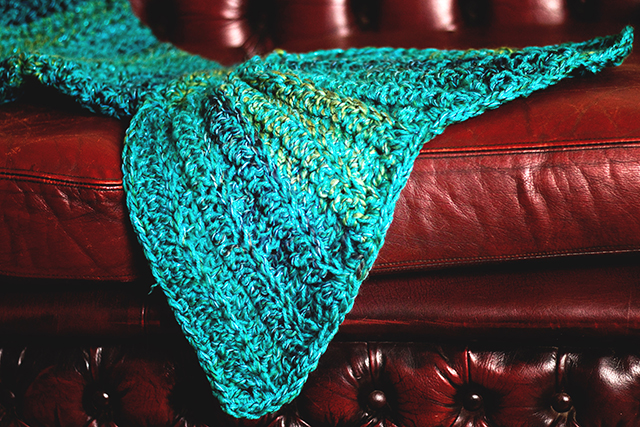
Becky of ShabbyAlice is one of my greatest friends, but as well as being generally hilarious and wonderful, she is also ridiculously good at making things out of wool and recently used those skills to make this gorgeous mermaid tail blanket for Rory! She makes lots of other knitty and crafty pieces too and you should all definitely go and peruse her wares on her Instagram or Facebook page.
Want to be a princess/mermaid hybrid? Of course she does!
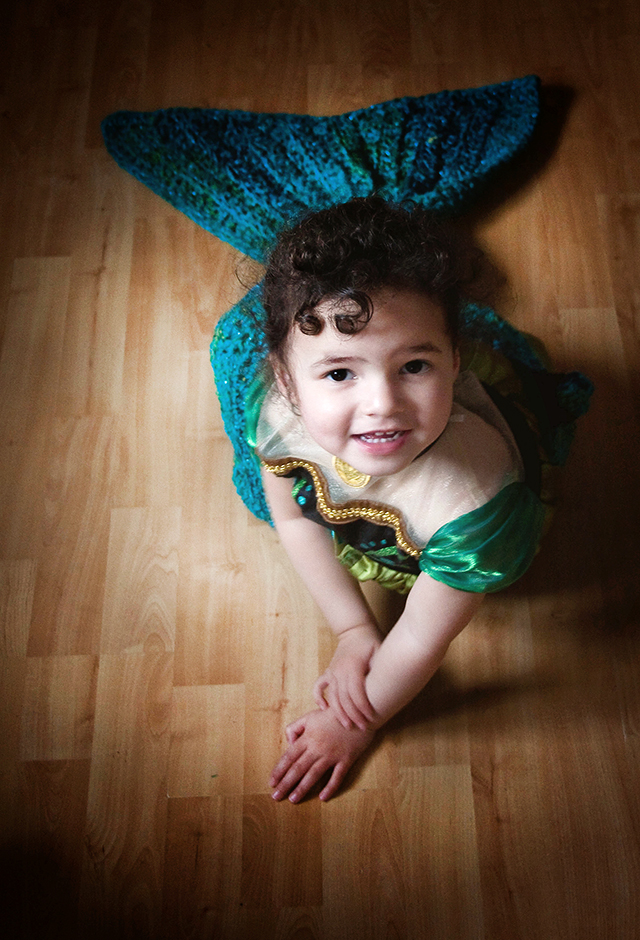

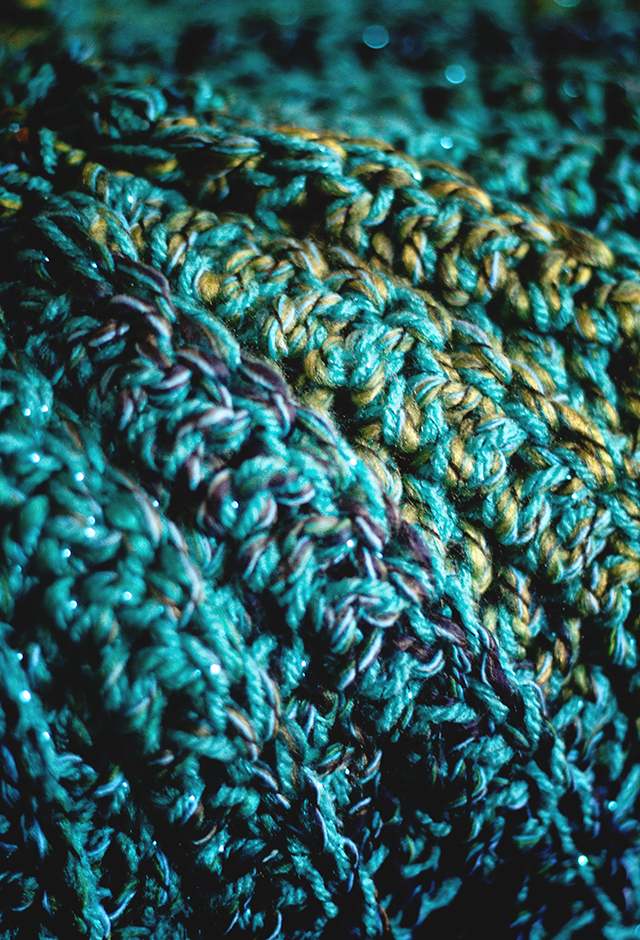
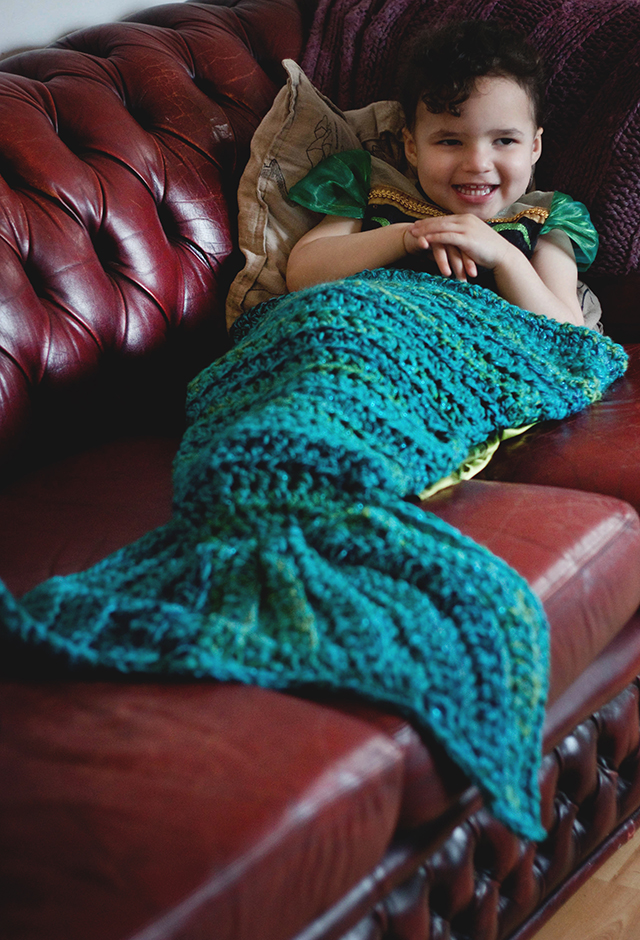
Look how smug she is about the fact that she has one and I don't. I want to be a mermaid too.
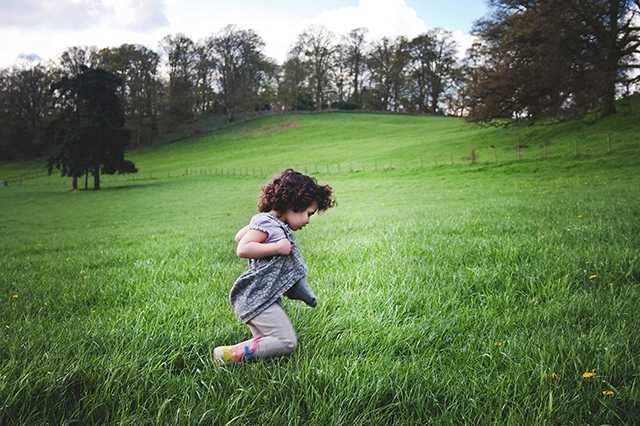
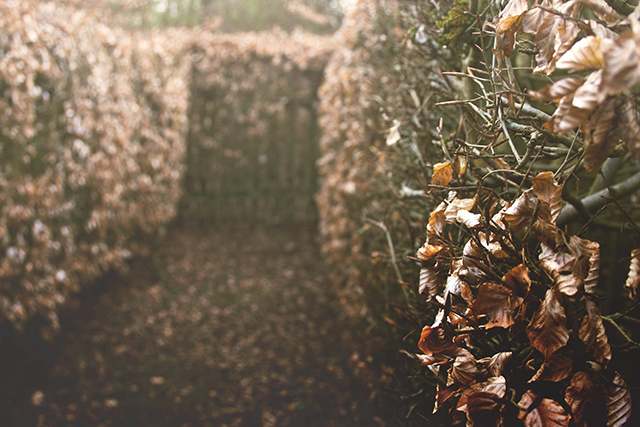
Photo Challenge week 16 Portrait: Movement

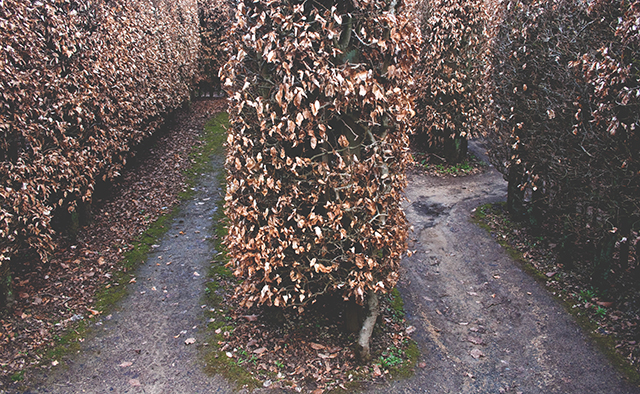
For the week's photo theme of movement I decided to use our little adventure to Wonderland to my advantage and grab some shots of Rory running around the maze. And the entire time I kept remembering scenes from the Shining and quickly came to the realization that I don't in fact like mazes at all.
My little home studio photography setup
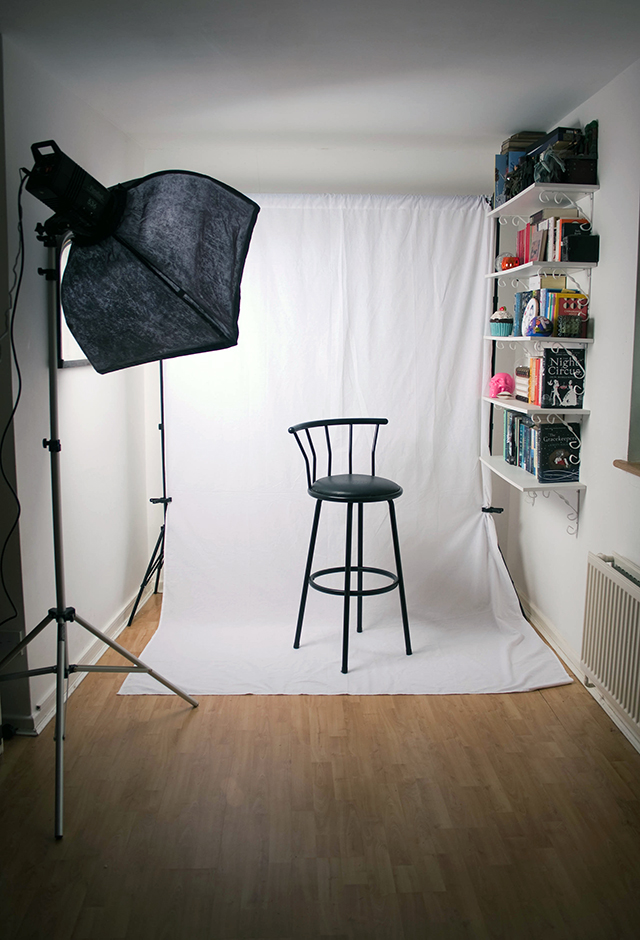 |
It took me a long time to get to grips with studio photography. When I was studying, my campus had this huge and incredibly intimidating studio with more equipment than I could possibly get my head around and while it would be a real playground for me now, at the time I just didn't know where to begin. So I built my photographic approach around ambient and natural light, which was fine, since I've always had a preference for reportage style work anyway. But sometimes, circumstances (typically the weather) or the clients (the teeny tiny ones) are better in a more controlled environment where the lighting is more predictable, and we can take the time to get a great shot.
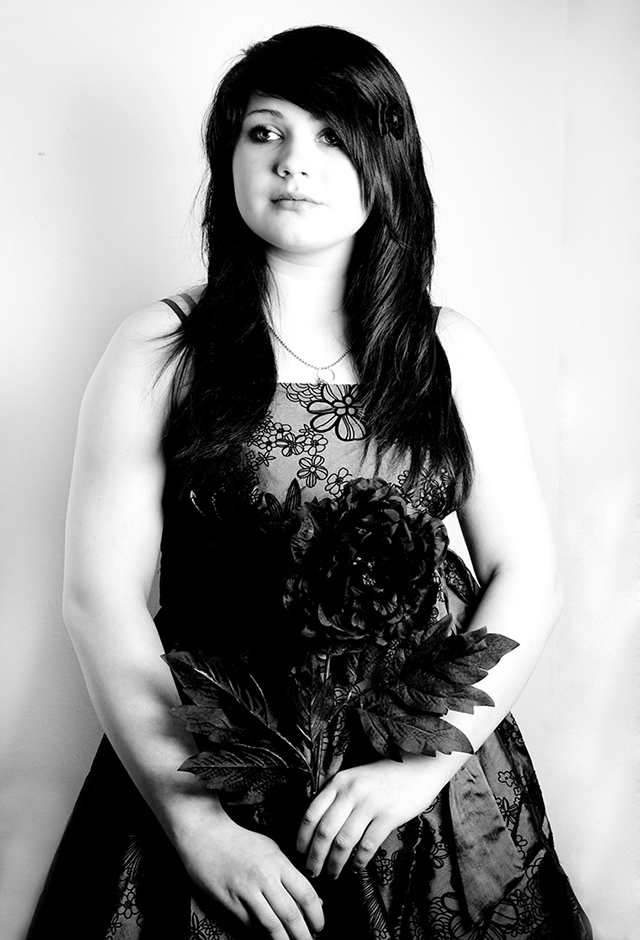 |
I always thought 'studio' photography meant a large, dedicated space with tonnes of expensive gear. But my first 'studio' shoot took place in a tiny, white walled bedroom, with one light and my camera. And those shots are still some of my favourites.
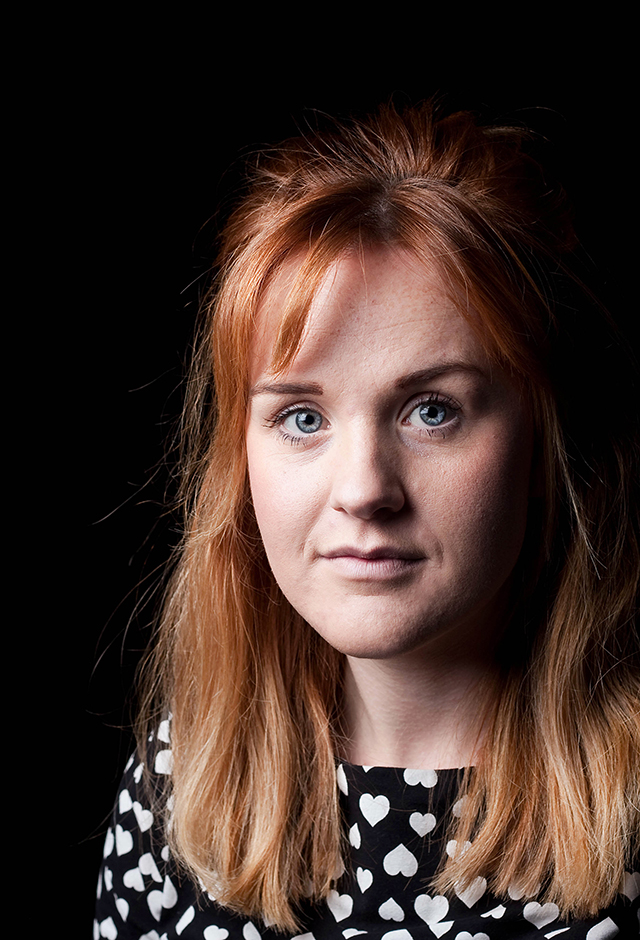 |
I still don't have a huge dedicated space filled with expensive gear. So far, I haven't found that I need one. My little portable set up works brilliantly in my house and it's great being able to pack it up and take it out on location whenever I need to. For the above shoot I took around 12 headshots, and so being able to pack up my kit and take it along to a rehearsal was much simpler than having everybody come to me.
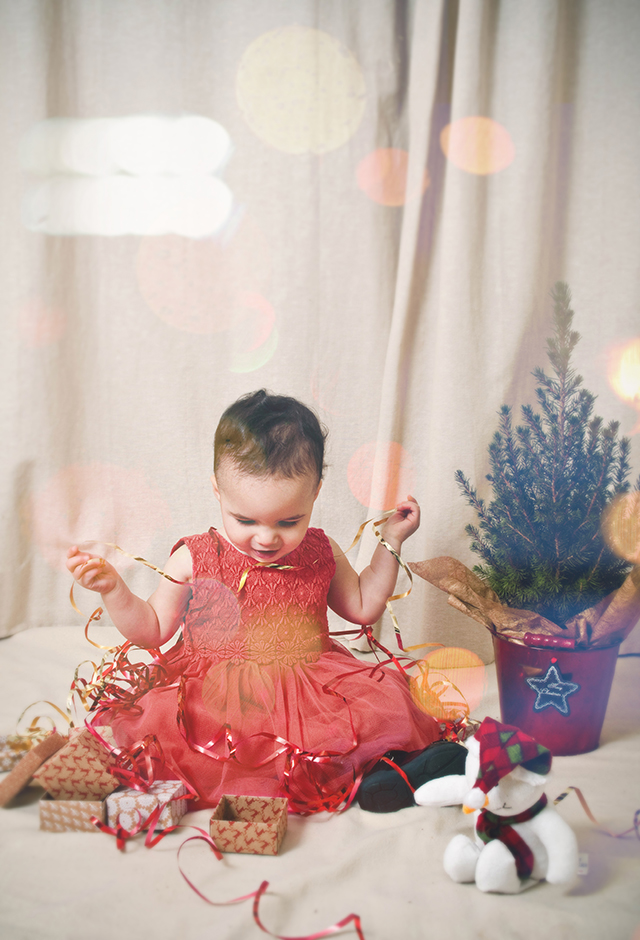

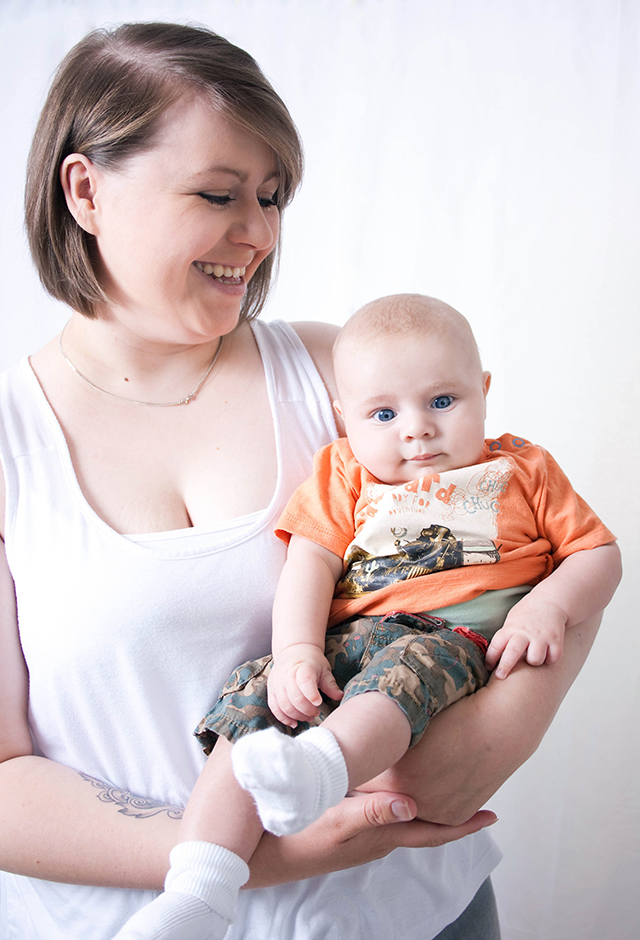

When working with babies, having this little setup works perfectly, allowing me to take my time to get the best shot in an environment that is less overwhelming than an outdoor space would be and meaning they can have as many breaks from the camera and the lights as they need.
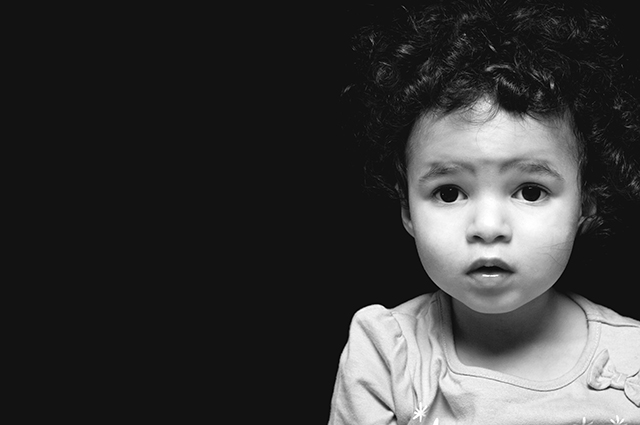
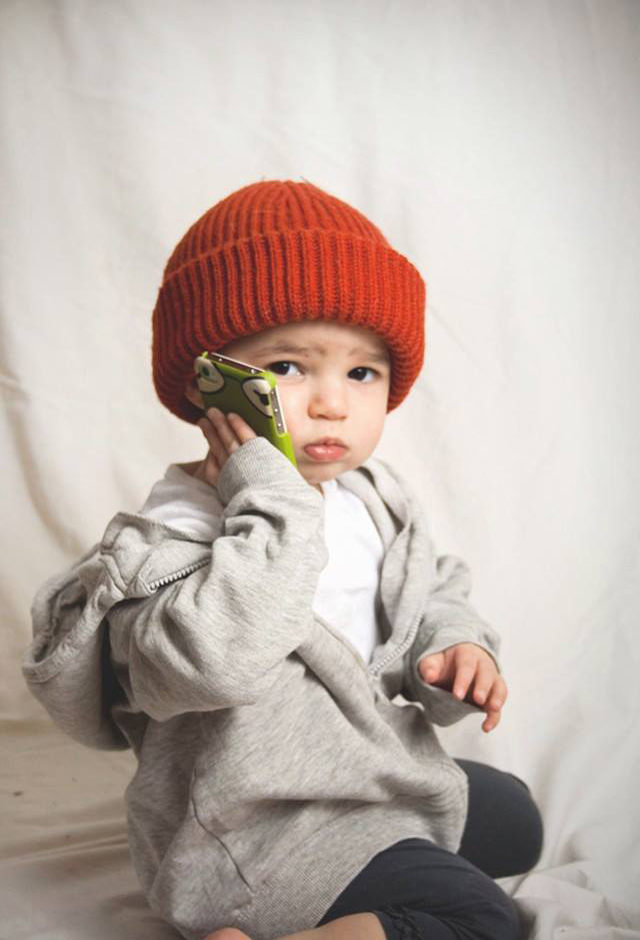
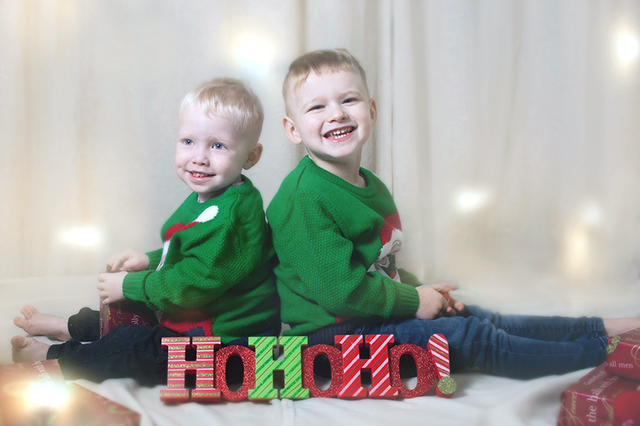
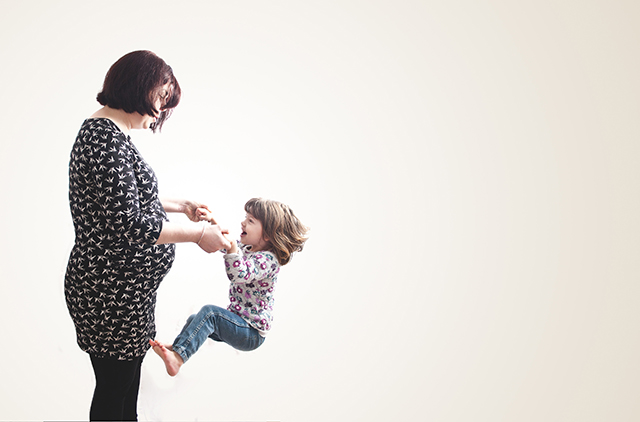
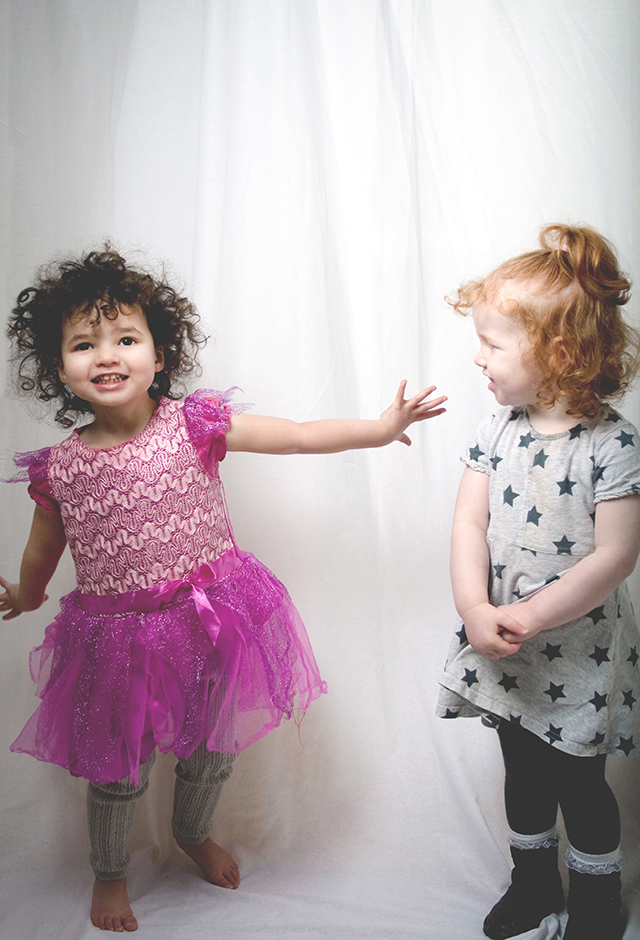
While I'll probably always prefer shooting in natural light and surroundings, I really love having an alternative space to work in when I need to and it's a lot of fun learning all of the new and interesting ways to light my sitters.
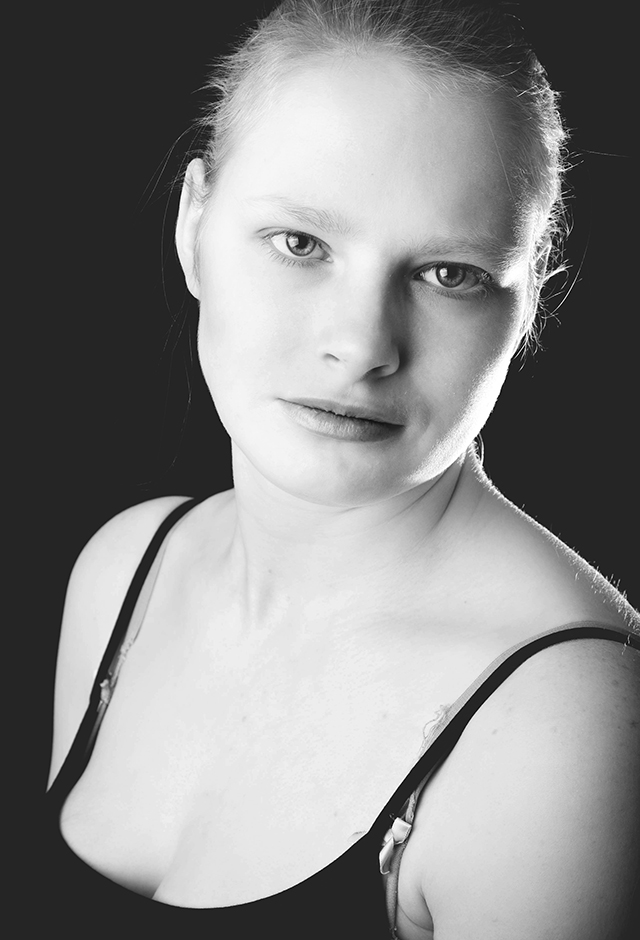
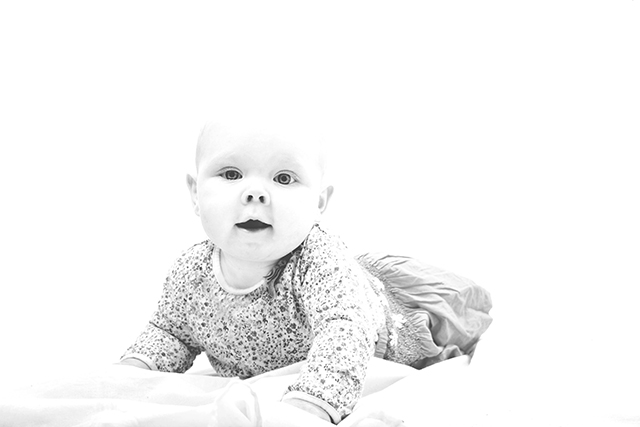
This week: Wonderland (1)
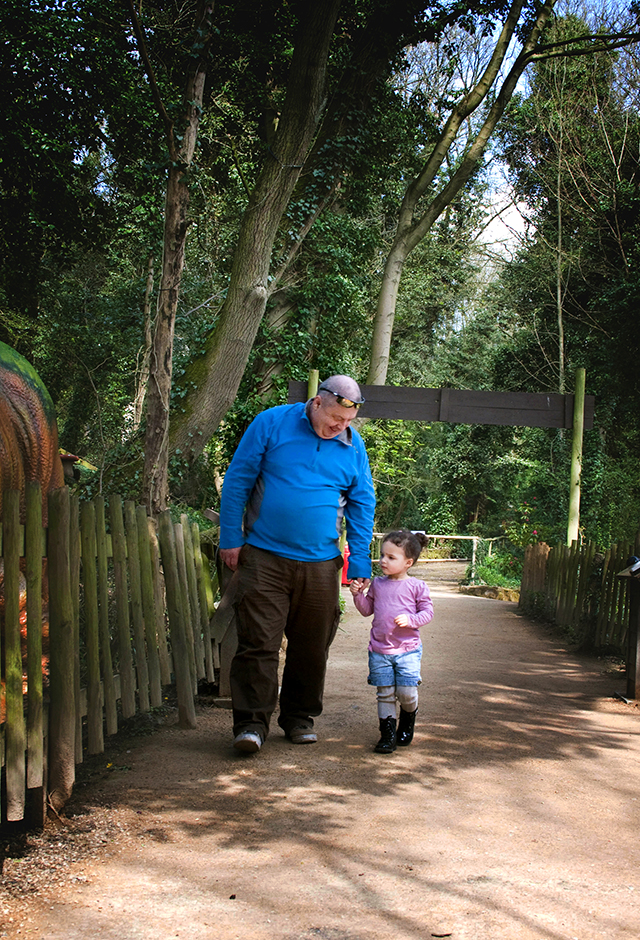
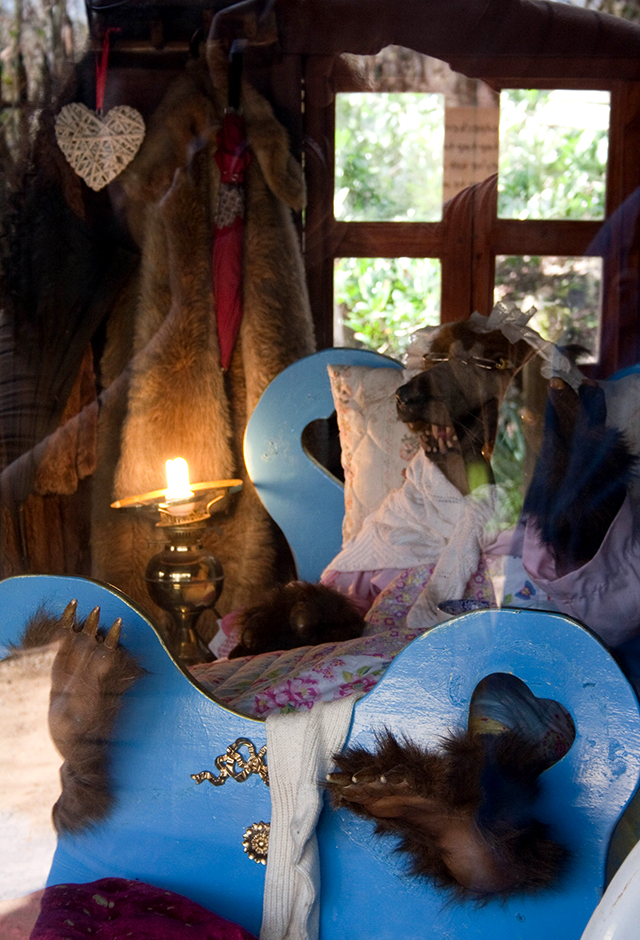
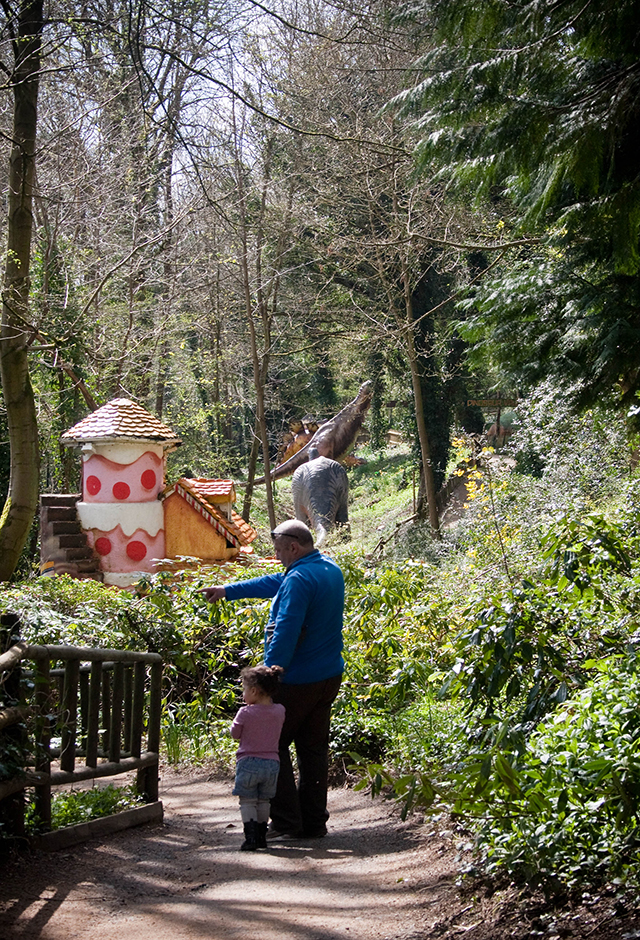
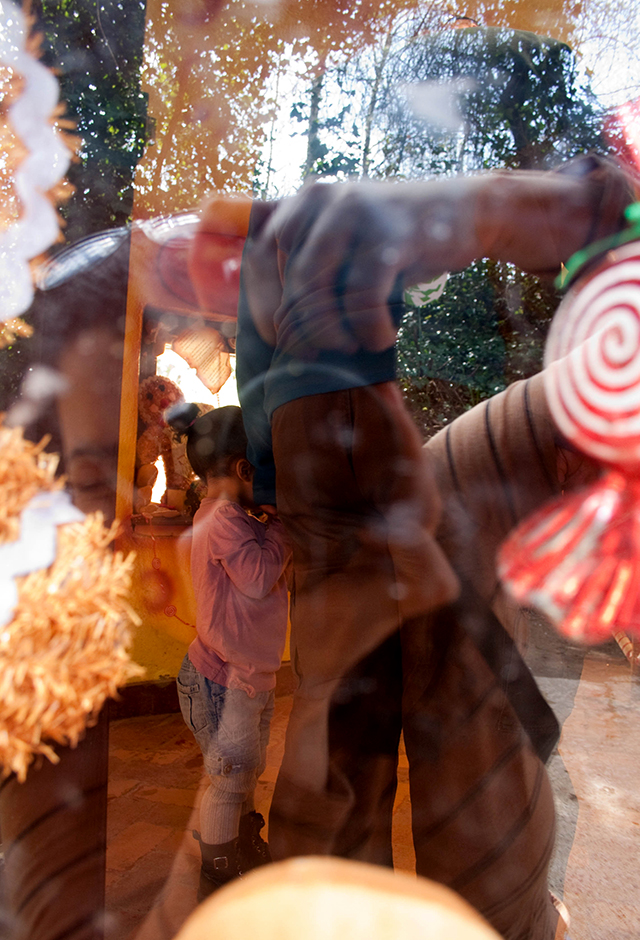
This week we took a visit to Telford Town Park and there were many, many photo opportunities, so stay tuned for more parts to this post!

© CHRISTINA-CLARE PHOTOGRAPHY